KR-0006
Raspberry Pi Pico W IoT Starter Kit
- Purchase URL [ https://52pi.com/products/raspberry-pi-pico-wh-iot-starter-kit-with-soldered-header-pin-ups-oled-module-and-sensors ]
Descriptions
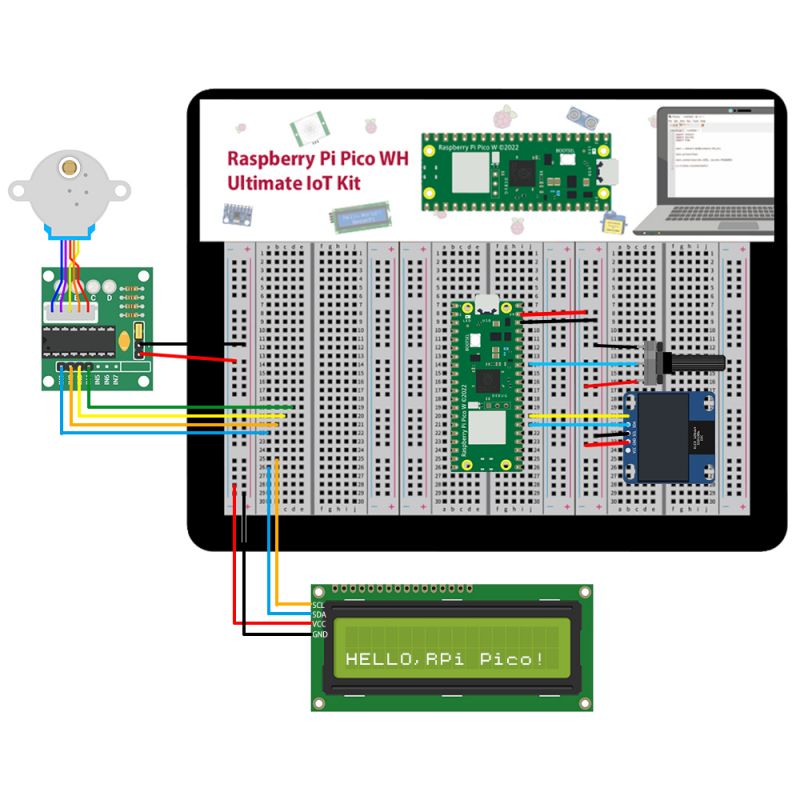
This kit is for makers, IoT engineer to build their own IoT projects, it contains Raspberry Pi Pico WH and Pico UPS module, OLED screen, temperature and humidity sensor, single channel relay and ultrasonic sensors, it can be combined to build different IoT projects, it contains a manual with several demo examples which is based MicroPython programming language. And it is very suitable for beginners to learn electronic circuits, MicroPython programming, and sensor data acquisition and IoT experiments. It has a very comprehensive range of sensors and has very detailed instructions. You can complete experiment step by step according to the instructions. And can be given to children as a parent-child kit.
NOTE: Raspberry Pi Pico WH, WH means wireless and with header pin soldered.
Features
- Easy to Understand
- Easy to assembling
- Mobile Power bank
- Various Sensors for IoT Projects
- Demo code and Examples
Gallery
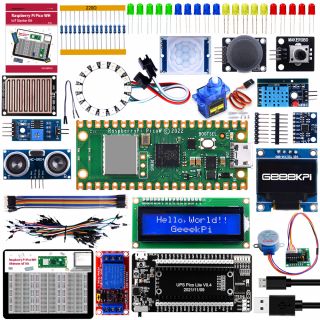
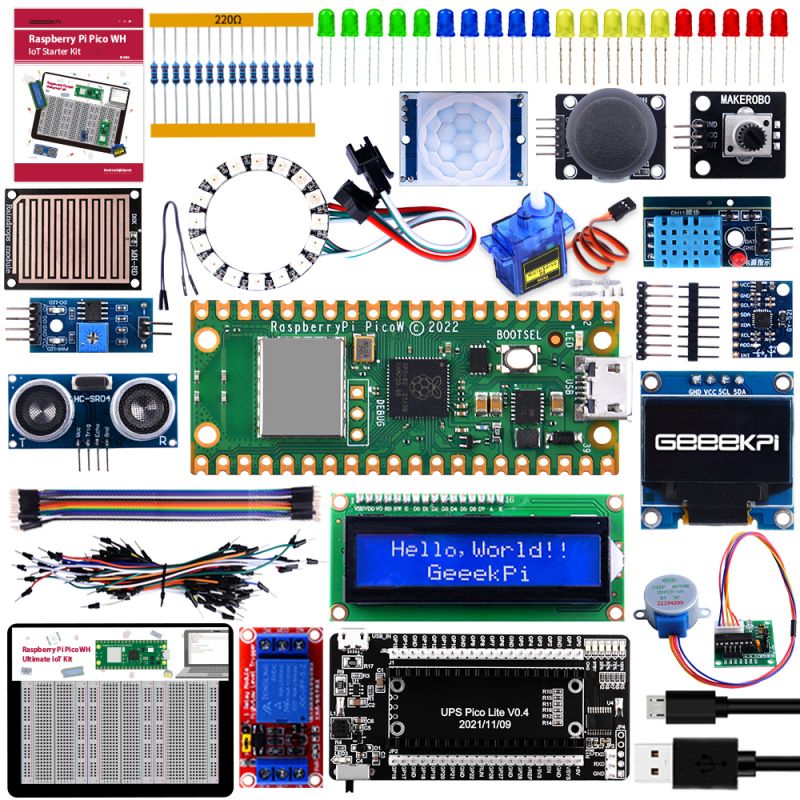
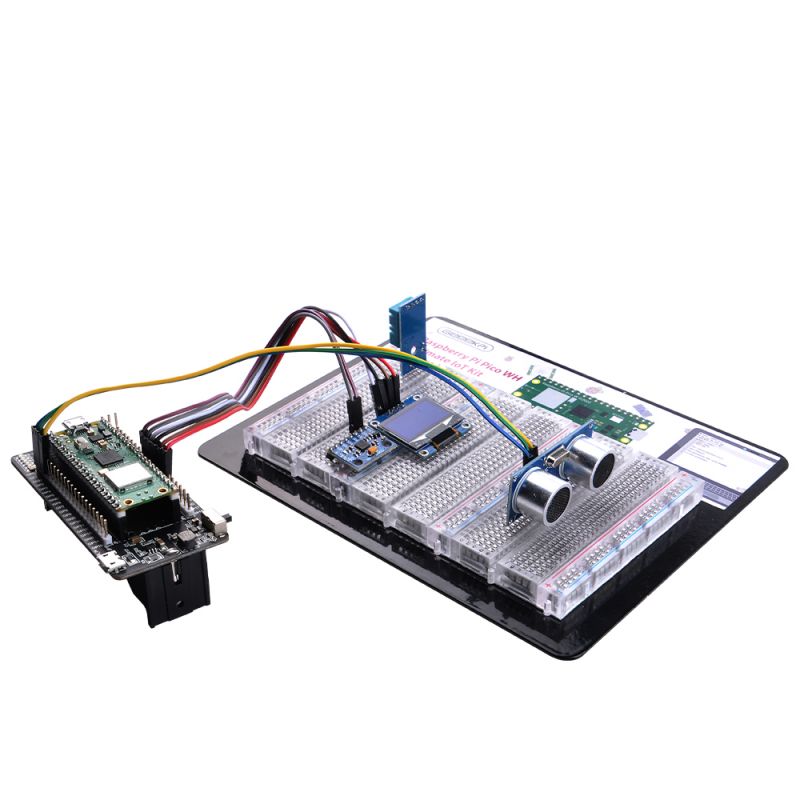
- Product Outlook
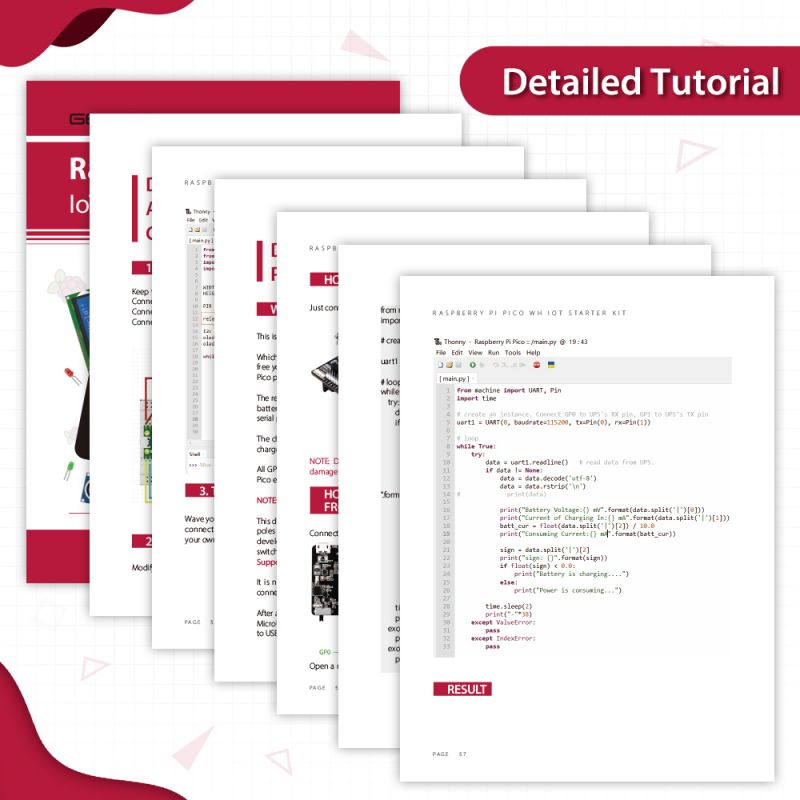
- Detailed Tutorial
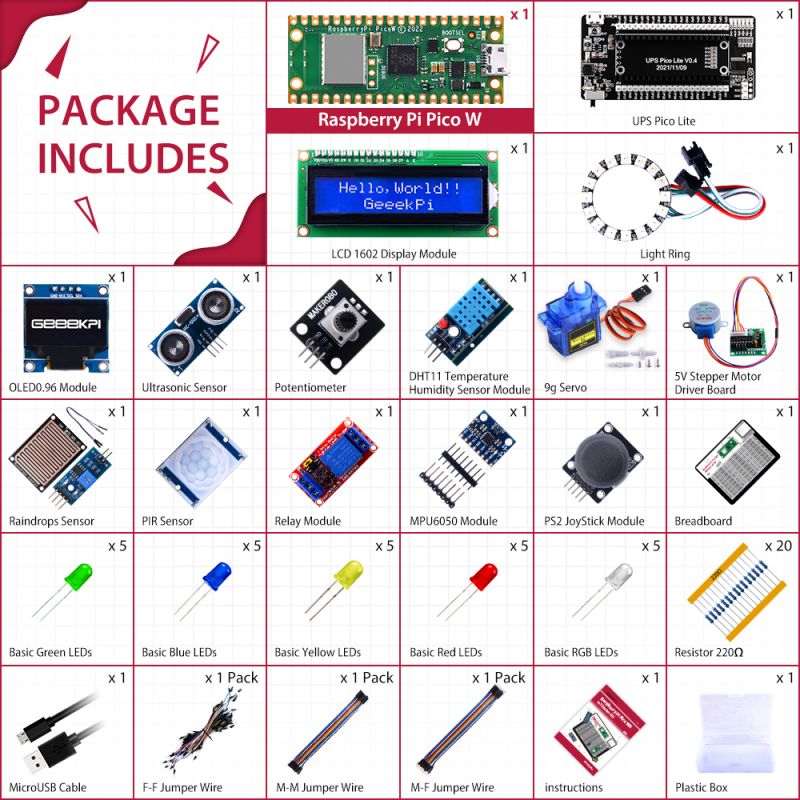
Package Includes
- 1 x Raspberry Pi Pico WH
- 1 x breadboard experiment platform
- 1 x Ultrasonic sensor
- 1 x 0.96-inch OLED display
- 1 x Temperate and Humidity sensor
- 1 x Single Channel Relay
- 1 x PIR sensor
- 1 x LCD1602 display module
- 1 x Raindrops sensor
- 1 x Potentiometer
- 1 x Stepper motor
- 1 x ULN2003AN driver board (drive stepper motor)
- 1 x 9g Servo
- 1 x PS2 Joystick Module
- 1 x MPU6050 Gyroscope module
- 1 x MicroUSB cable (Data Transfer)
- 20 x Male to male jumper wire
- 20 x Male to female jumper wire
- 5 x Red LED
- 5 x Green LED
- 5 x Yellow LED
- 5 x Blue LED
- 20 x 220Ω Resistor
- 1 x Instructions
Getting Start
- 1. Preparation
Before you start to program, you need to download the firmware for your Raspberry Pi Pico WH, Please read following URLs carefully: https://www.raspberrypi.com/products/raspberry-pi-pico/
- Datasheet of RP2040 chip: [ https://www.raspberrypi.com/documentation/microcontrollers/ ]
- Datasheet of RPI Pico W: [ https://datasheets.raspberrypi.com/picow/pico-w-datasheet.pdf ]
Raspberry Pi Pico W and Pico WH
Raspberry Pi Pico W adds on-board single-band 2.4GHz wireless interfaces (802.11n) using the Infineon CYW43439 while retaining the Pico form factor. The on-board 2.4GHz wireless interface has the following features:
- Wireless (802.11n), single-band (2.4 GHz)
- WPA3
- Soft access point supporting up to four clients
The antenna is an onboard antenna licensed from ABRACON (formerly ProAnt). The wireless interface is connected via SPI to the RP2040 microcontroller.
Due to pin limitations, some of the wireless interface pins are shared. The CLK is shared with VSYS monitor, so only when there isn’t an SPI transaction in progress can VSYS be read via the ADC. The Infineon CYW43439 DIN/DOUT and IRQ all share one pin on the RP2040. Only when an SPI transaction isn’t in progress is it suitable to check for IRQs. The interface typically runs at 33MHz.
For best wireless performance, the antenna should be in free space. For instance, putting metal under or close by the antenna can reduce its performance both in terms of gain and bandwidth. Adding grounded metal to the sides of the antenna can improve the antenna’s bandwidth.
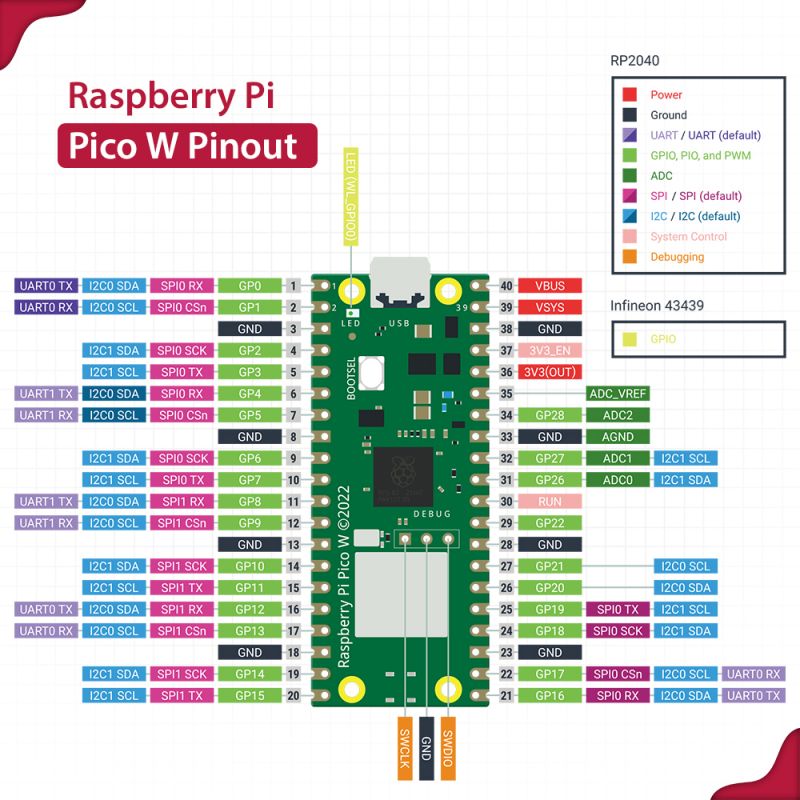
Pinout and design files
Debugging using another Raspberry Pi Pico
It is possible to use one Raspberry Pi Pico to debug another Pico. This is possible via picoprobe, an application that allows a Pico to act as a USB → SWD and UART converter. This makes it easy to use a Pico on non-Raspberry Pi platforms such as Windows, Mac, and Linux computers where you don’t have GPIOs to connect directly to your Pico. Full instructions on how to use Picoprobe to do this are available in our 'getting started' documentation.
- Download the UF2 file: https://datasheets.raspberrypi.com/soft/picoprobe.uf2
- Go to the Picoprobe Github repository: https://github.com/raspberrypi/picoprobe
Resetting Flash memory
Pico’s BOOTSEL mode lives in read-only memory inside the RP2040 chip, and can’t be overwritten accidentally. No matter what, if you hold down the BOOTSEL button when you plug in your Pico, it will appear as a drive onto which you can drag a new UF2 file. There is no way to brick the board through software. However, there are some circumstances where you might want to make sure your Flash memory is empty. You can do this by dragging and dropping a special UF2 binary onto your Pico when it is in mass storage mode.
- Download the UF2 file: [ https://datasheets.raspberrypi.com/soft/flash_nuke.uf2 ]
- See the code on GitHub: [ https://github.com/raspberrypi/pico-examples/blob/master/flash/nuke/nuke.c ]
What is MicroPython?
MicroPython is a full implementation of the Python 3 programming language that runs directly on embedded hardware like Raspberry Pi Pico. You get an interactive prompt (the REPL) to execute commands immediately via USB Serial, and a built-in file system. The Pico port of MicroPython includes modules for accessing low-level chip-specific hardware.
- The MicroPython: [ https://github.com/micropython/micropython/wiki ]
Drag-and-Drop MicroPython
You can program your Pico by connecting it to a computer via USB, then dragging and dropping a file onto it so we’ve put together a downloadable UF2 file to let you install MicroPython more easily.
Download the correct MicroPython UF2 file for your board:
- Raspberry Pi Pico W (with urequests and upip preinstalled): [ https://micropython.org/download/rp2-pico-w/rp2-pico-w-latest.uf2 ]
Then go ahead and:
Push and hold the BOOTSEL button and plug your Pico into the USB port of your Raspberry Pi or other computer. Release the BOOTSEL button after your Pico is connected.
It will mount as a Mass Storage Device called RPI-RP2.
Drag and drop the MicroPython UF2 file onto the RPI-RP2 volume. Your Pico will reboot. You are now running MicroPython.
You can access the REPL via USB Serial.
The Raspberry Pi Pico Python SDK book contains step-by-step instructions for connecting to your Pico and programming it in MicroPython using both the command line and the Thonny IDE. which you can download from: [ https://thonny.org/ ]
and then download raspberry pi pico python SDK manual PDF file:
[ https://datasheets.raspberrypi.com/pico/raspberry-pi-pico-python-sdk.pdf ]
- 1. Download and install Thonny for your OS, if you don’t already have it. You can grab it for free from the Thonny website.[ https://thonny.org/ ]
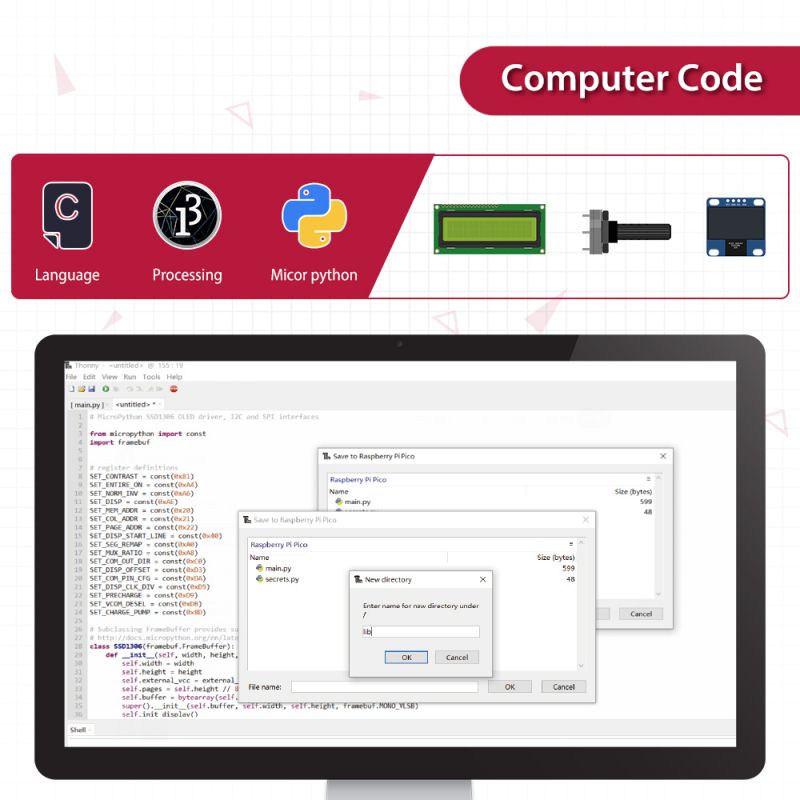
- 2. Connect the Raspberry Pi Pico to your computer and in Thonny go to Tools > Options and click on the Interpreter tab. From the interpreter dropdown list select MicroPython (Raspberry Pi Pico). The port dropdown menu can be left to automatically detect the Pico. Click Ok to close.
The Python Shell (also called REPL, Read, Eval, Print, Loop) will now update to show that the Pico is connected and working.
- 3. To test we can write a quick print function to say “Hello World.” Press Enter to run the code.
Demo Code Download
- Demo code Download: File:RPi Pico WH IoT starter kit.zip
Keywords
- Raspberry Pi Pico W, IoT starter Kit, Raspberry Pi Pico W starter kit
