EP-0241
M.2 NVME M-key & PoE+ Hat for RPi 5
Descriptions
The M.2 NVME M-key & PoE+ Hat for Raspberry Pi 5 is an innovative accessory that significantly expands the capabilities of the Raspberry Pi 5. Designed with versatility in mind, this PoE+ (Power over Ethernet) Hat allows for a streamlined setup by enabling the Raspberry Pi to draw power directly from an Ethernet port through the use of a PoE switch or PoE power supply. This eliminates the need for a separate power supply and simplifies the overall system architecture.
Features
- Power over Ethernet (PoE+) Capability: Streamlines the power supply setup by allowing the Raspberry Pi 5 to be powered through the Ethernet port.
- 5.1V/4.5A Output: Ensures that the Raspberry Pi 5 and any connected peripherals receive adequate power for optimal performance.
- Compatibility: Specifically designed for the Raspberry Pi 5, ensuring a seamless integration with the device.
- Safety Warning: A clear note to avoid connecting a power supply to the USB-C port when using the PoE+ Hat to prevent potential device damage.
Specifications
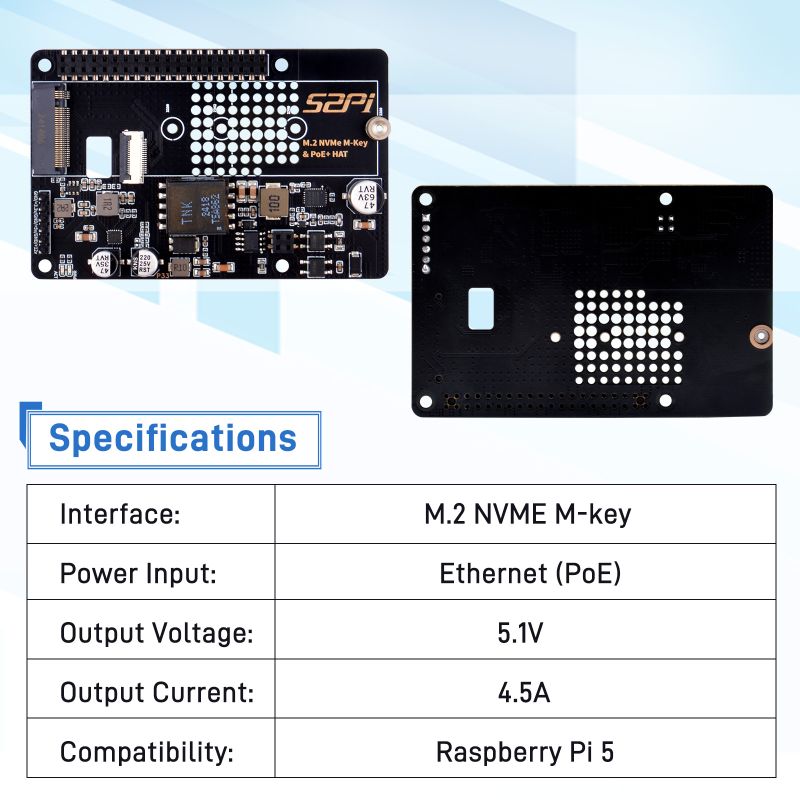
- PoE type: PoE+
- Interface: M.2 NVME M-key
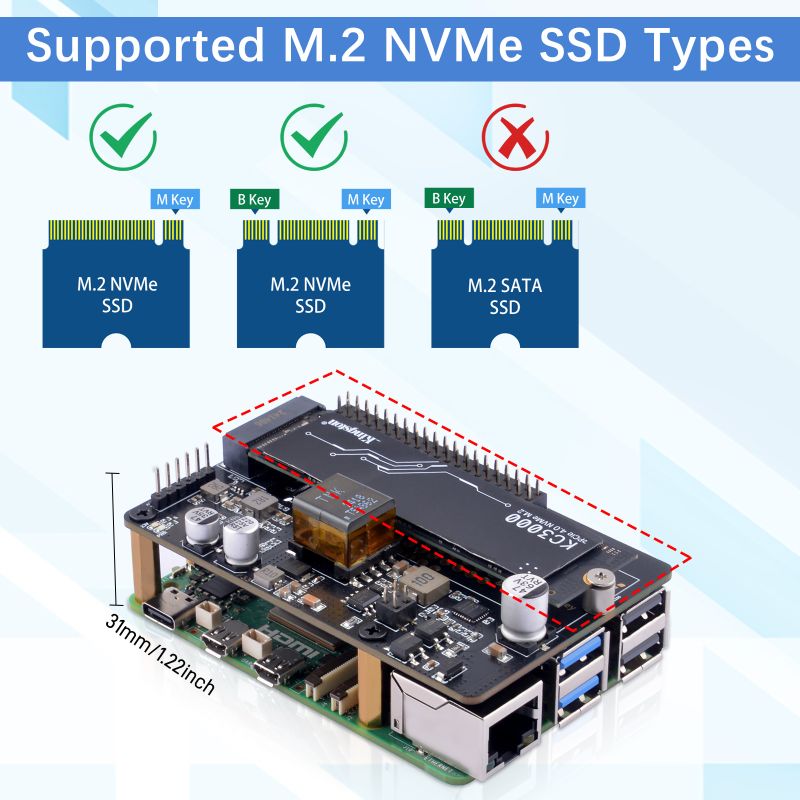
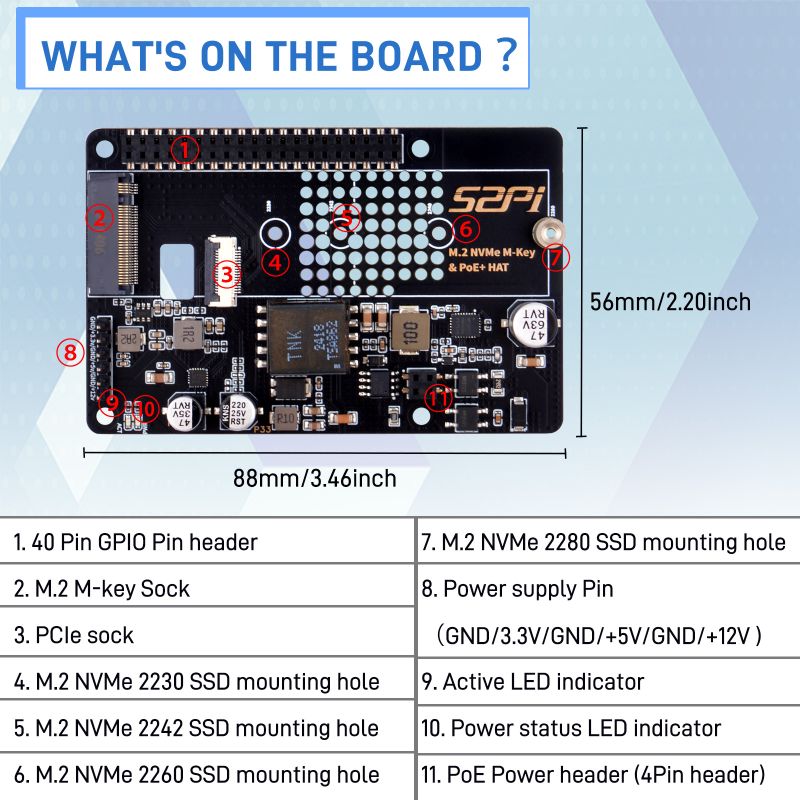
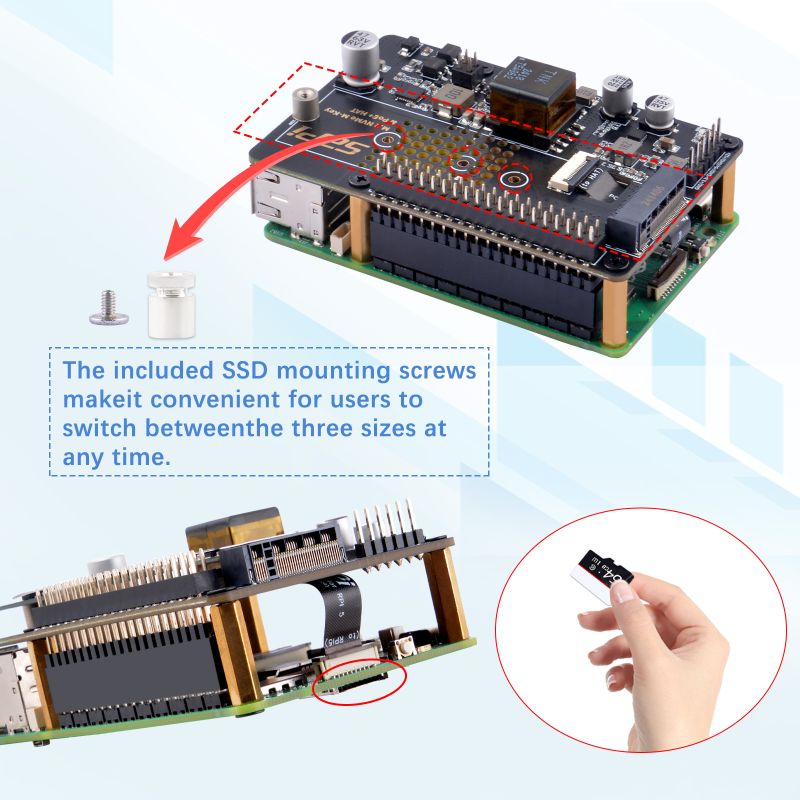
- SSD size: 2230/2242/2260/2280
- Power Input: Ethernet (PoE+) 802.3at protocol, upto 25.5w
- Output Voltage: 5.1V
- Output Current: 4.5A
- Compatibility: Raspberry Pi 5
- Safety: Do not connect power supply to USB-C port when PoE+ Hat is in use.
Gallery
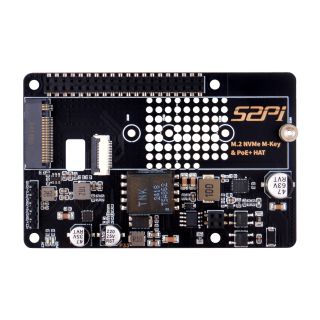
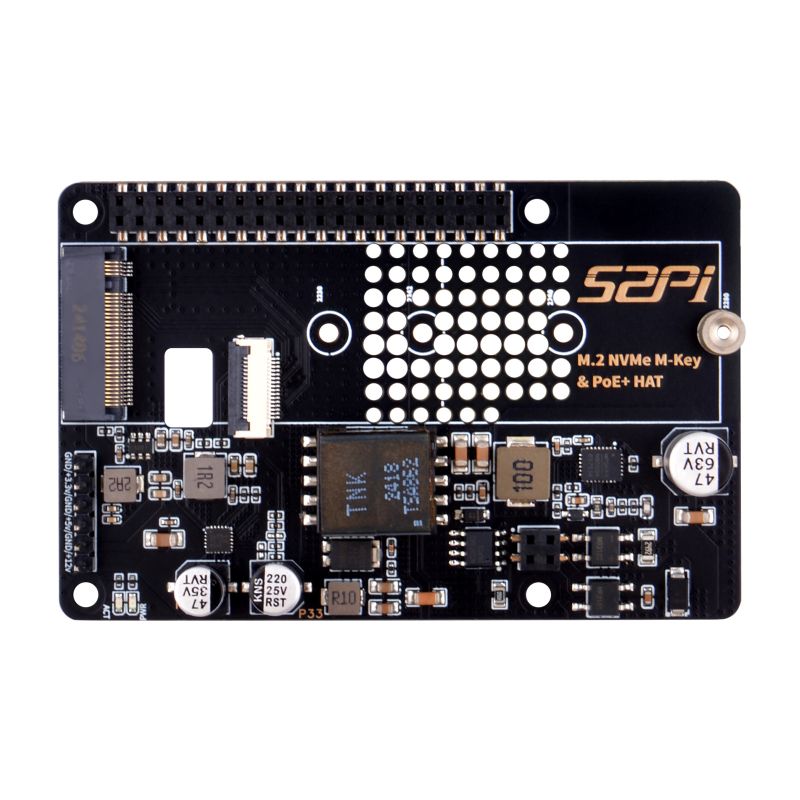
- Product Outlook
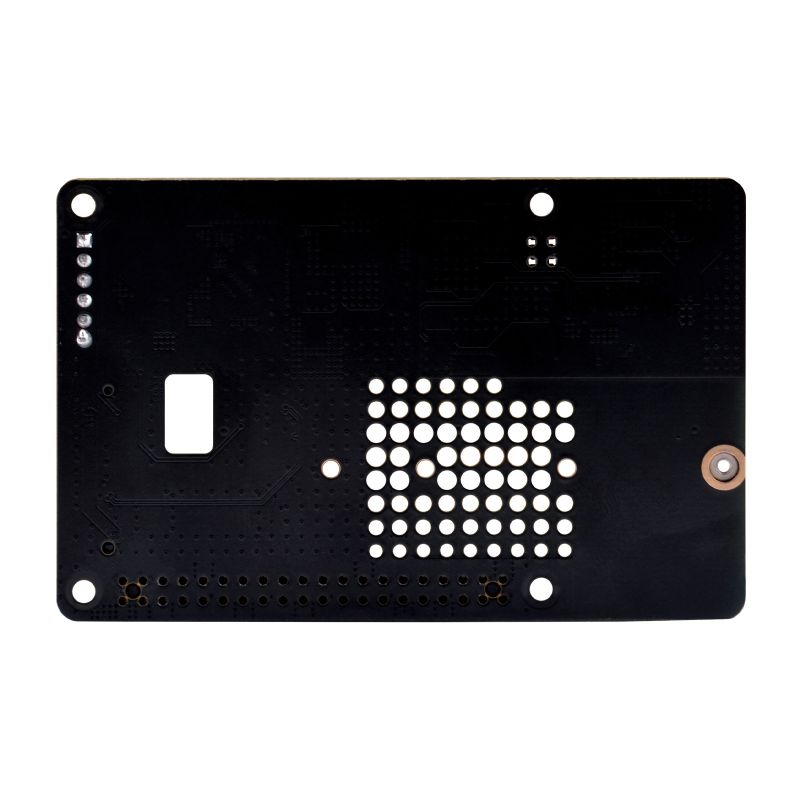
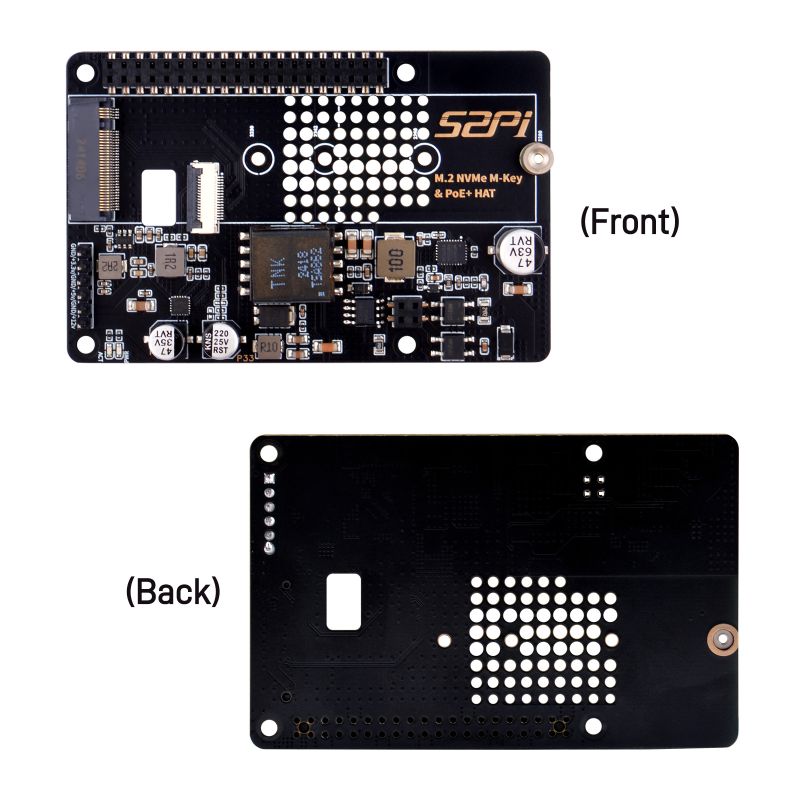
- Front face and back face
- Specifications
- Definitions on board
- Application scenario
- Heat Dissipation Effect
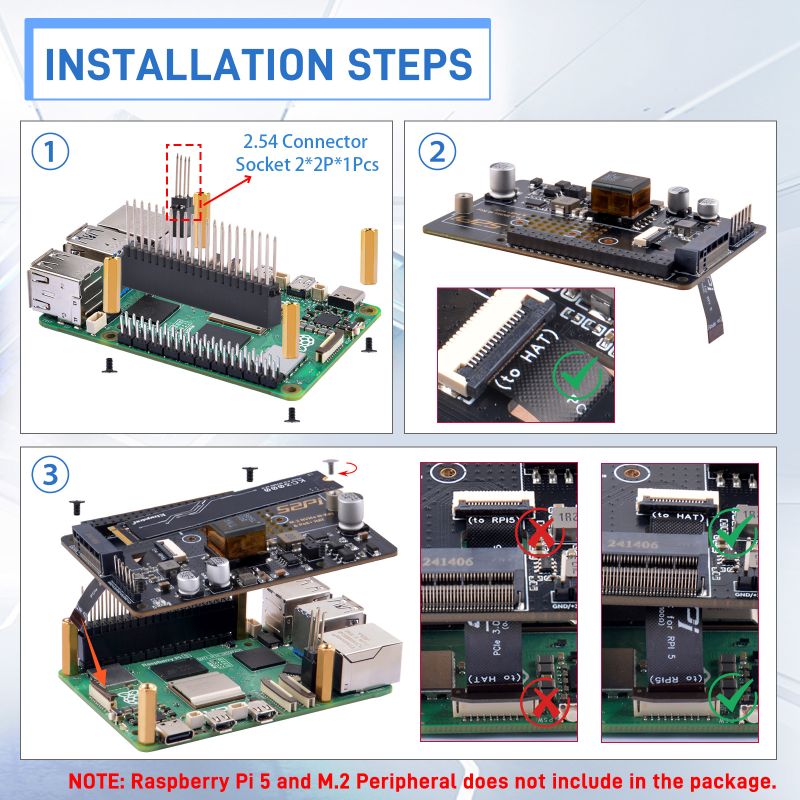
How to assemble it?
- Please assemble it according to following figure.
Package Includes
How to enable PCIe on Raspberry Pi 5?
- Modify /boot/firmware/config.txt and adding following parameters:
dtparam=pciex1
And the connection is certified for Gen 2.0 speed (5 GT/sec), but you can force it to Gen 3.0 (10 GT/sec) if you add the following line after:
dtparam=pciex1_gen=3
You can run devices at PCIe Gen 3.0 speeds if you test and they run stable.
- Enable auto detection PCIe and booting from NVME.
sudo rpi-eeprom-config --edit
Adding following parts:
PCIE_PROBE=1
BOOT_ORDER=0xf416
The 6 means to enable booting from nvme. Reboot Raspberry Pi 5 and try to use `lsblk` or `lspci -vvv` to get more details of the PCIe device.
- Partioning and formatting
sudo lsblk
Find out the deivce name like: `/dev/nvme0n1` Partitioning by executing following commands:
sudo fdisk /dev/nvme0n1
and then input:
> p
> n
> p
> 1
> Enter
> Enter
> w
> q
* Format the partition
<pre>
sudo mkfs.ext4 /dev/nmve0n1p1
- Create mounting point and mounting the partion to the mounting point.
mkdir ~/mydata
sudo mount -t ext4 /dev/nvme0n1p1 /home/pi/mydata -v
- Automount configuration, edit /etc/fstab file and adding following parameters:
sudo vim.tiny /etc/fstab
adding:
/dev/nvme0n1p1 /home/pi/mydata ext4 defaults,noatime 0 0
Save it and test it:
sudo mount -a
df -Th
check if the disk has been mounted on /home/pi/mydata location, if not, plesae check if the parameter is correct, do not reboot raspberry pi right now. it may crash the OS.
Keywords
- M.2 NVME M-key & PoE+ Hat for Raspberry Pi 5
