EP-0170
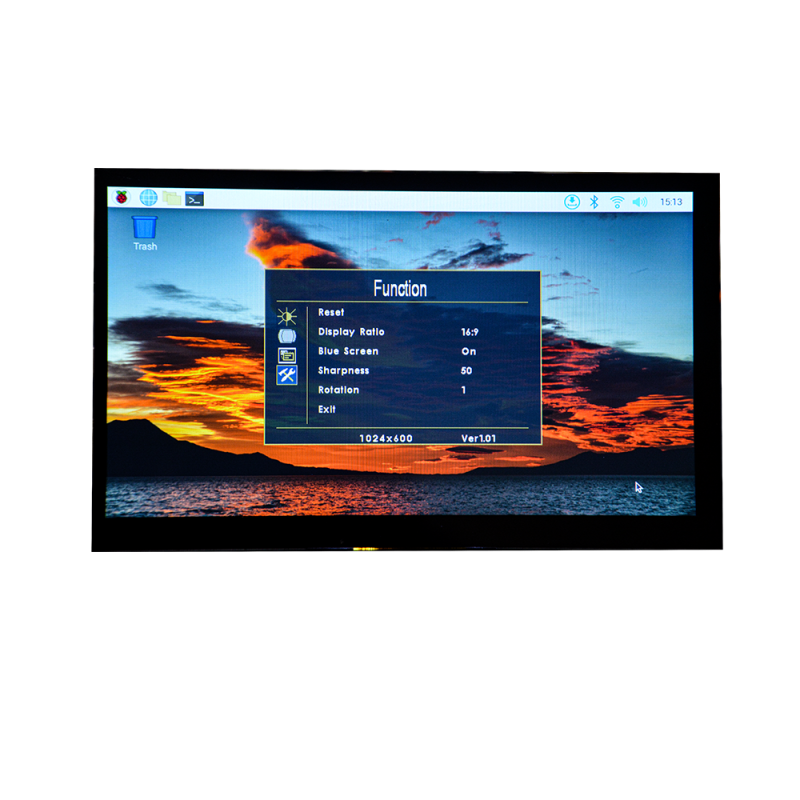
7 inch 1024x600 60Hz Non-Touch portable Screen
Description
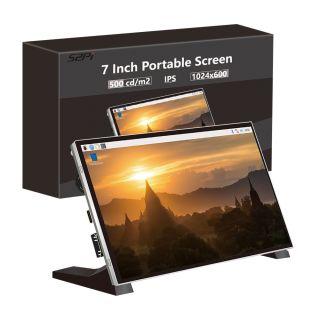
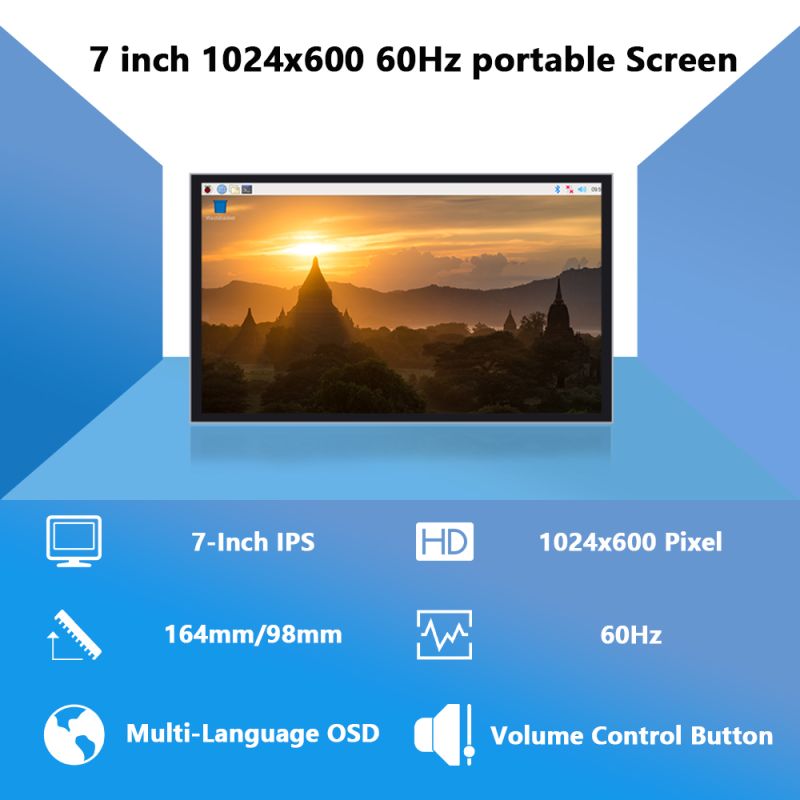
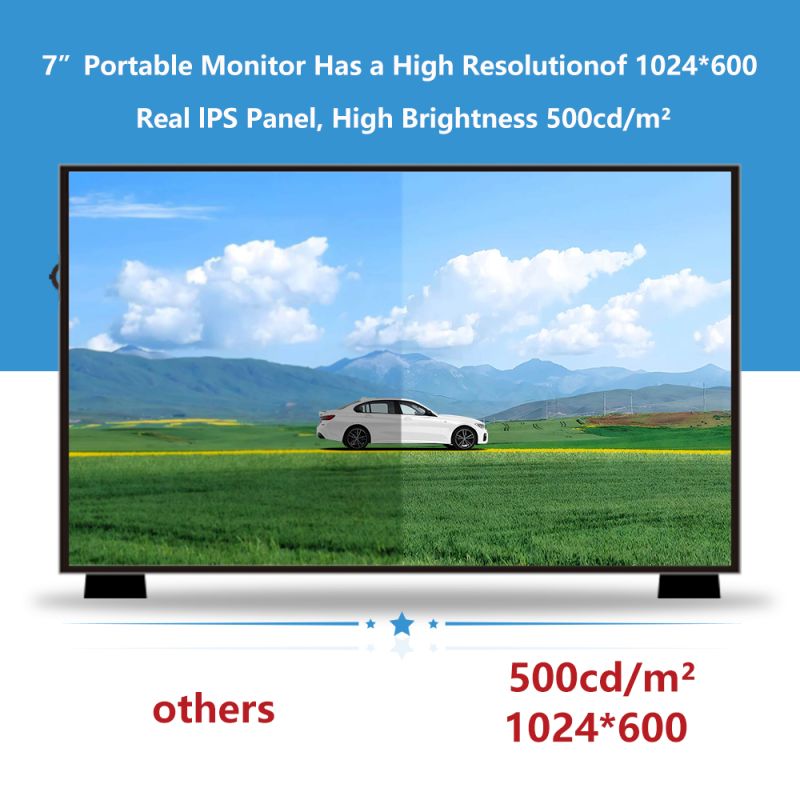
The 7-inch IPS portable screen offers a resolution of 1024x600 pixels and a smooth 60Hz refresh rate. It is compatible with Raspberry Pi and Windows PC.
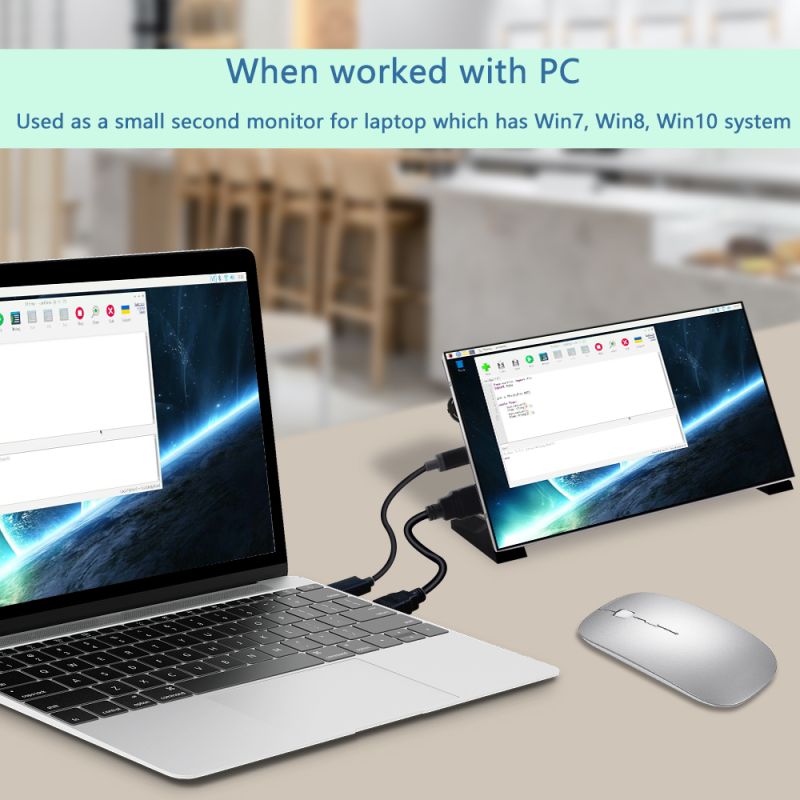
Additionally, it can serve as a secondary screen for PCs or be utilized in various DIY projects. With its accurate color reproduction and higher contrast compared to other panel types, the IPS display delivers vivid colors when showcasing HD video sources.
Features
- High Resolution: The screen boasts a crisp resolution of 1024x600 pixels, ensuring sharp and detailed visuals.
- Smooth Refresh Rate: With a 60Hz frequency, the screen provides a smooth and lag-free viewing experience.
- Compatibility: It is compatible with Raspberry Pi series and Windows PC. Portable Design: Designed to be lightweight and portable, the screen can be easily carried and used in various settings.
- Multi-purpose Usage: Besides serving as a portable screen for SBC development boards, it can also function as a secondary display for PCs, expanding your workspace. Additionally, it can be incorporated into DIY projects for added functionality.
- Accurate Color Reproduction: Thanks to the IPS panel technology, the screen delivers accurate color reproduction, enhancing the visual experience.
- Enhanced Contrast: The IPS panel's higher contrast levels ensure deeper blacks and brighter whites, resulting in a more vibrant and dynamic display.
- HD Video Performance: When playing HD video content, the screen showcases vivid colors and lifelike visuals, offering an immersive viewing experience.
- User-Friendly: The screen is designed with user convenience in mind, providing easy setup and intuitive controls for seamless operation.
- Durable Build: Constructed with quality materials, the screen is built to last, ensuring long-term durability and reliability.
- Multiple languages: users can easily navigate and adjust settings in their preferred language, supports English, Chinese, French, Italian, Dutch, Japanese, Korean, Russian.
Specifications
- Display:
- Screen Size: 7 inches
- Panel Type: IPS (In-Plane Switching)
- Resolution: 1024x600 pixel
- Refresh Rate: 60Hz
- Aspect Ratio: 16:9
- Brightness: 500 lux
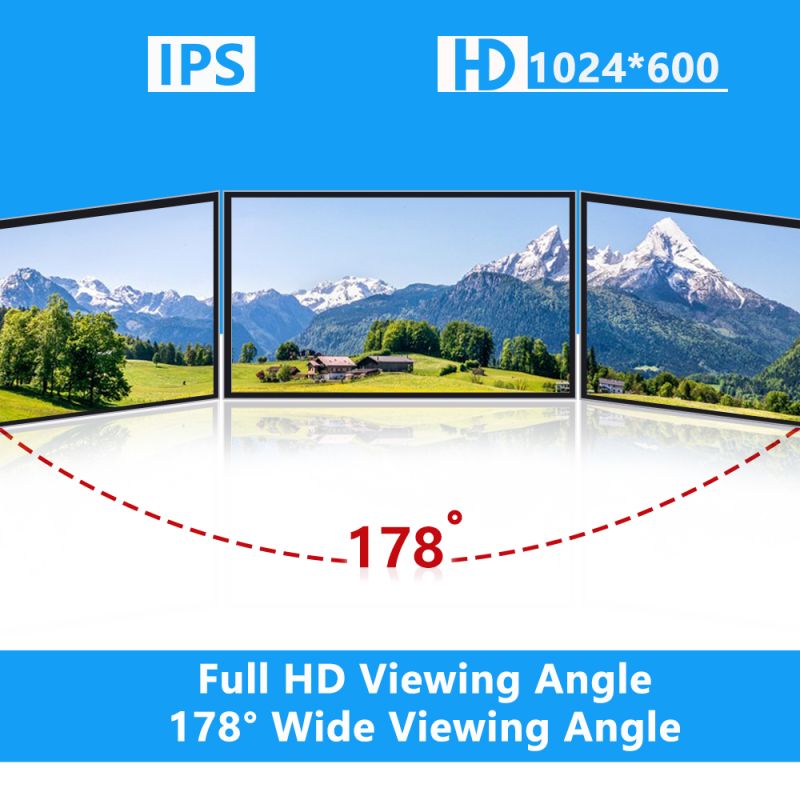
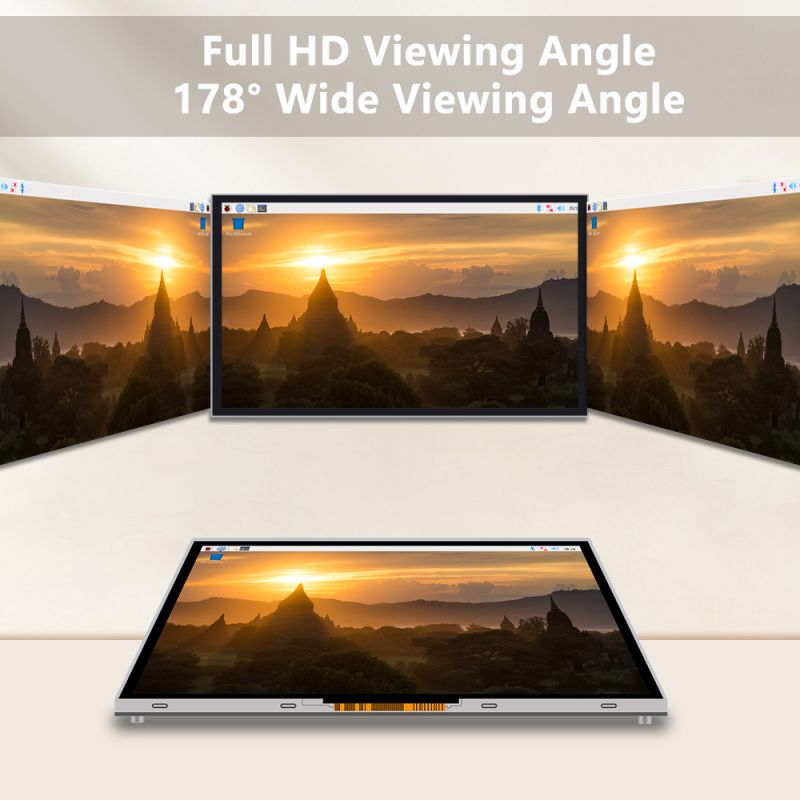
- View Angle: 89° Degree(From 4 corner)
- Power IN: DC 5V USB-C
- Signal IN: Full-size HDMI
- Compatibility:
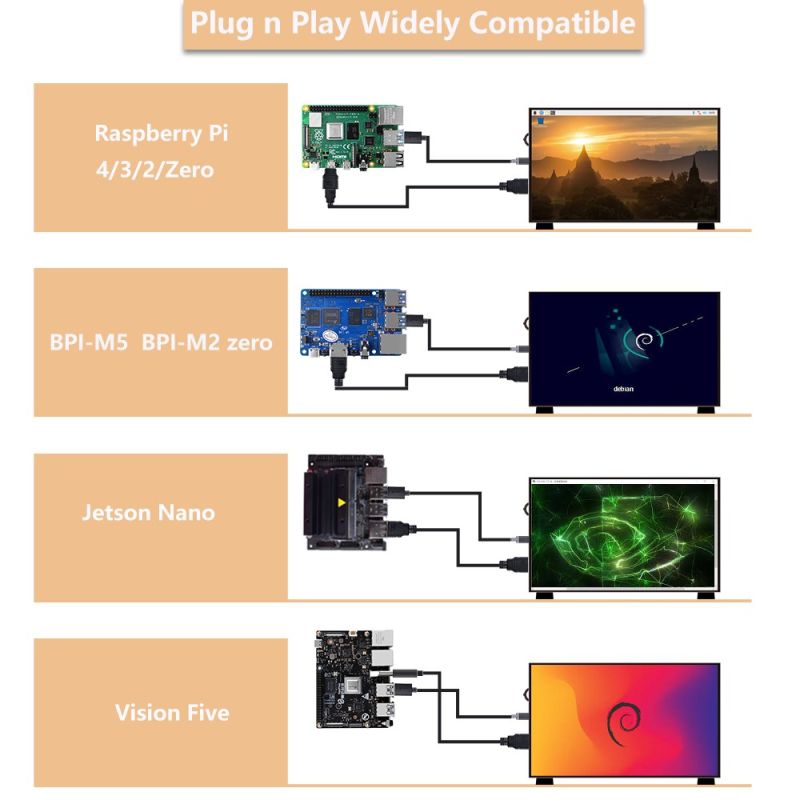
- Supported Devices: Raspberry Pi series SBC,Banana Pi M5,StarFive Vision Five2 and Windows PC
- Additional Usage: Can be used as a secondary screen for PCs and integrated into DIY projects
- Visual Performance:
- Color Accuracy: The IPS panel technology ensures accurate color reproduction.
- Contrast Ratio: Offers higher contrast levels, resulting in deeper blacks and brighter whites.
- HD Video Playback: Provides a vibrant and lifelike display when playing HD video content.
- Portability:
- Lightweight Design: The screen is designed to be easily portable.
- Dimensions: 165mm x 100mm x 8mm
- Weight: 0.50Kg
- Connectivity:
- Interface: Full-size HDMI Only
- Compatibility: Compatible with common connection standards for easy setup and usage.
- Durability:
- Build Quality: Constructed with durable materials for long-lasting performance.
- Reliability: Designed to provide reliable operation over an extended period of usage.
- User-Friendly Features:
- Easy Setup: Provides a straightforward installation process.
- Intuitive Controls: User-friendly controls for adjusting settings and navigating the menu.
- Versatile Placement: Can be positioned in various orientations for flexibility.
- OSD Control:
- OSD (On-Screen Display): Features a built-in switch to control the OSD, allowing for easy navigation and adjustment of display settings, such as rotate, brightness and contrast settings and so on.
Gallery
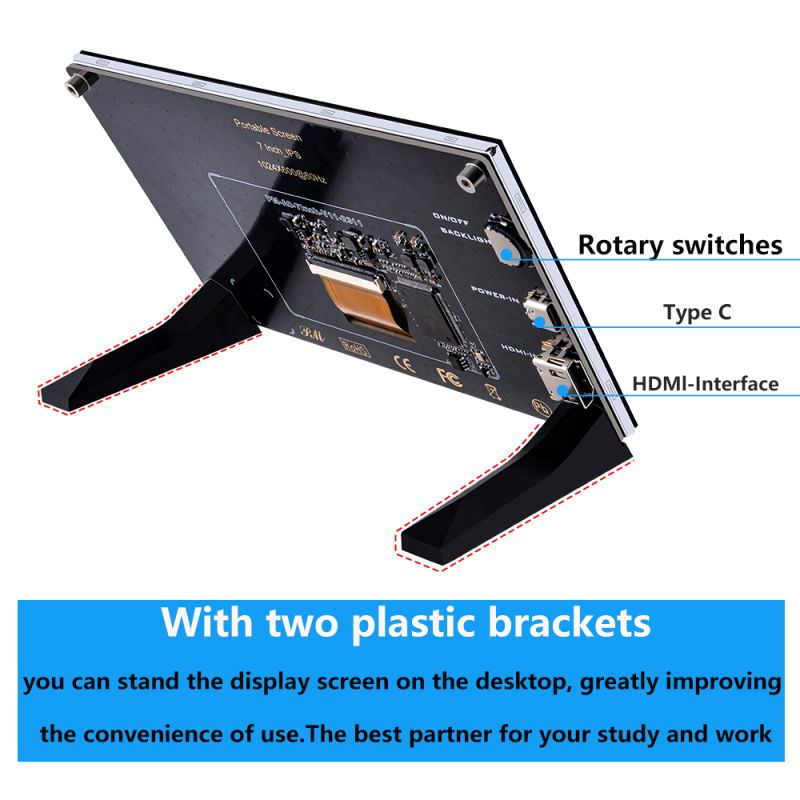
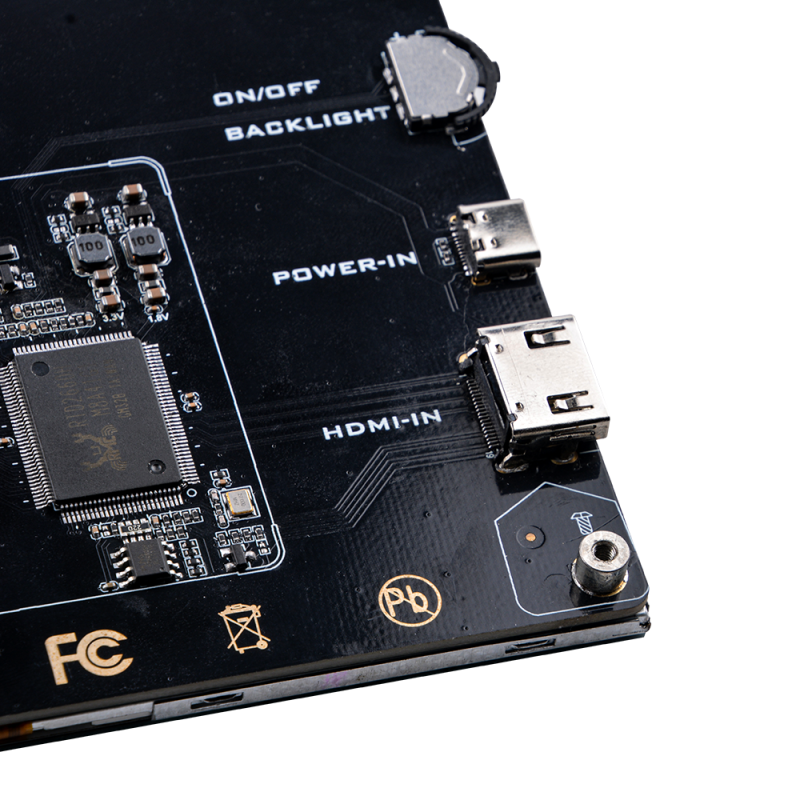
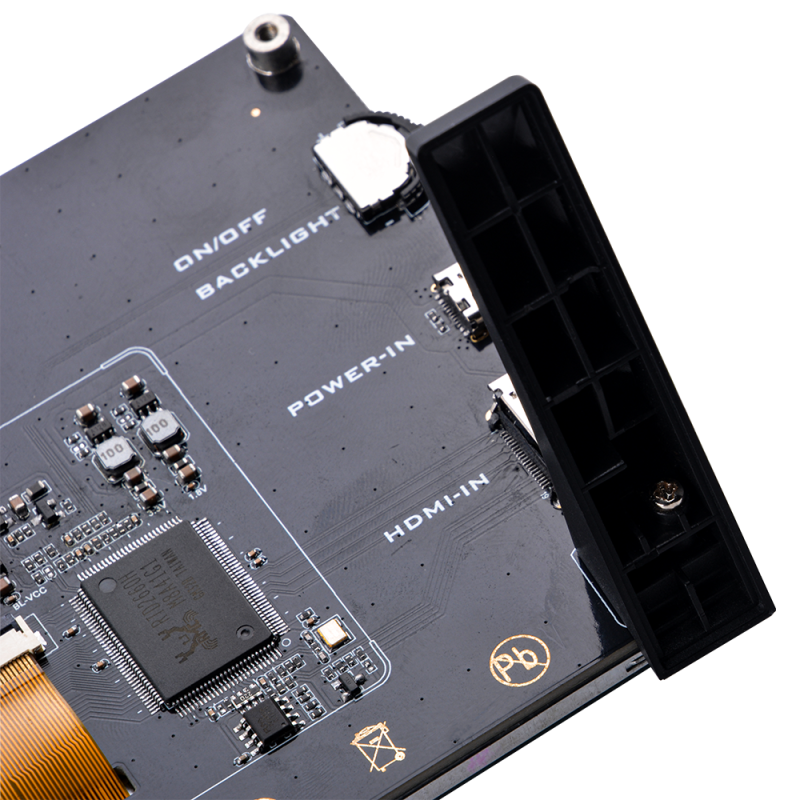
- Port definitions
- 1. Backlight control: Toggle left and right
- 2. ON/OFF: Press the button once
- 3. Power IN: DC 5V Input
- 4. HDMI:Full-size HDMI IN
- Specifications
- Clearity Screen
- Viewing Angle
- Application Senario
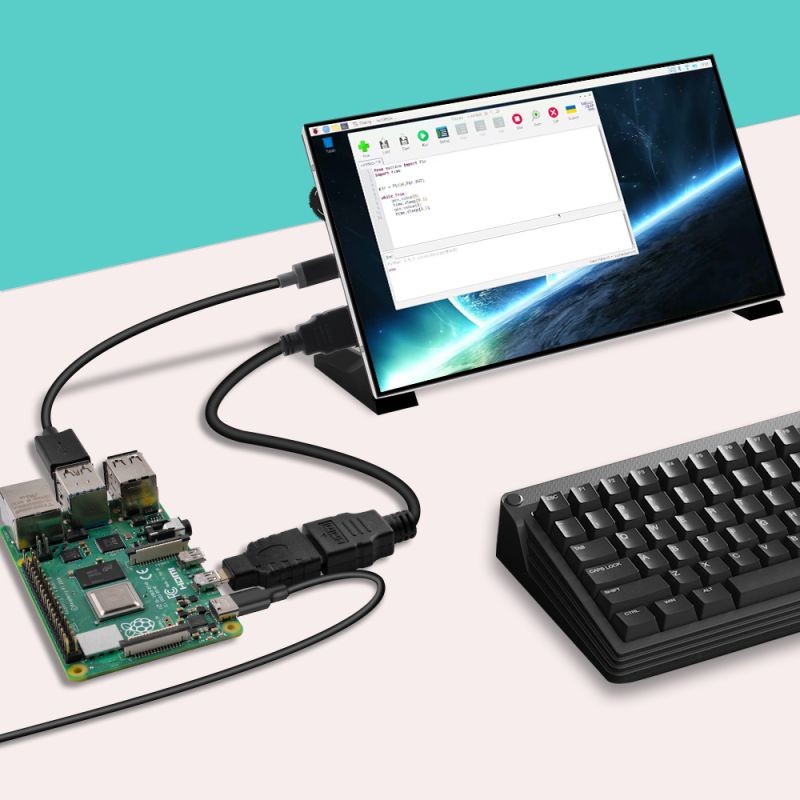
Raspberry Pi main desktop screen
PC's secondary monitor
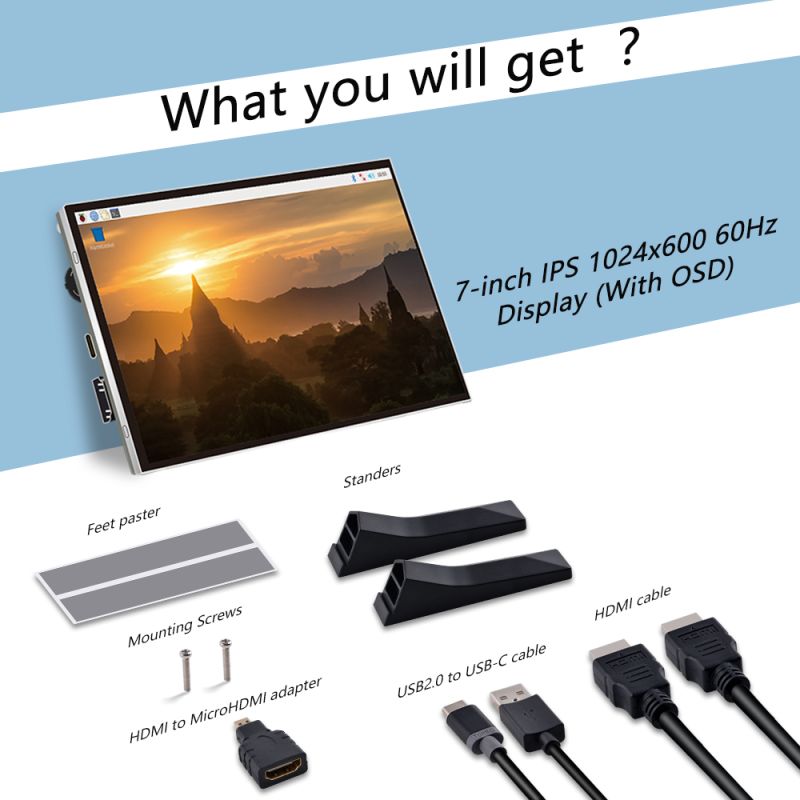
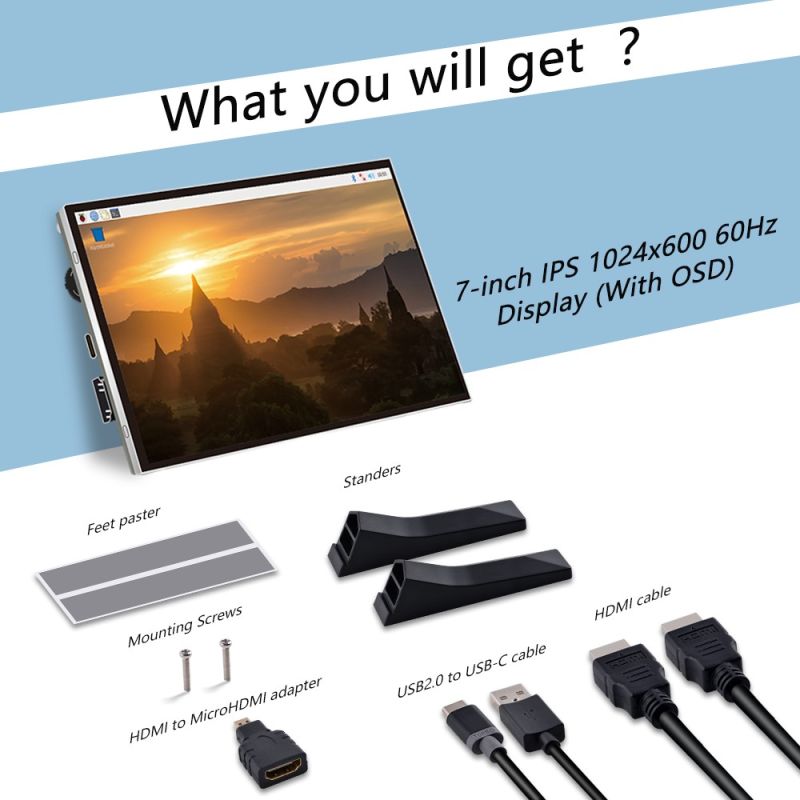
Package Includes:
- 1 x USB-C power cable
- 1 x Full-size HDMI cable
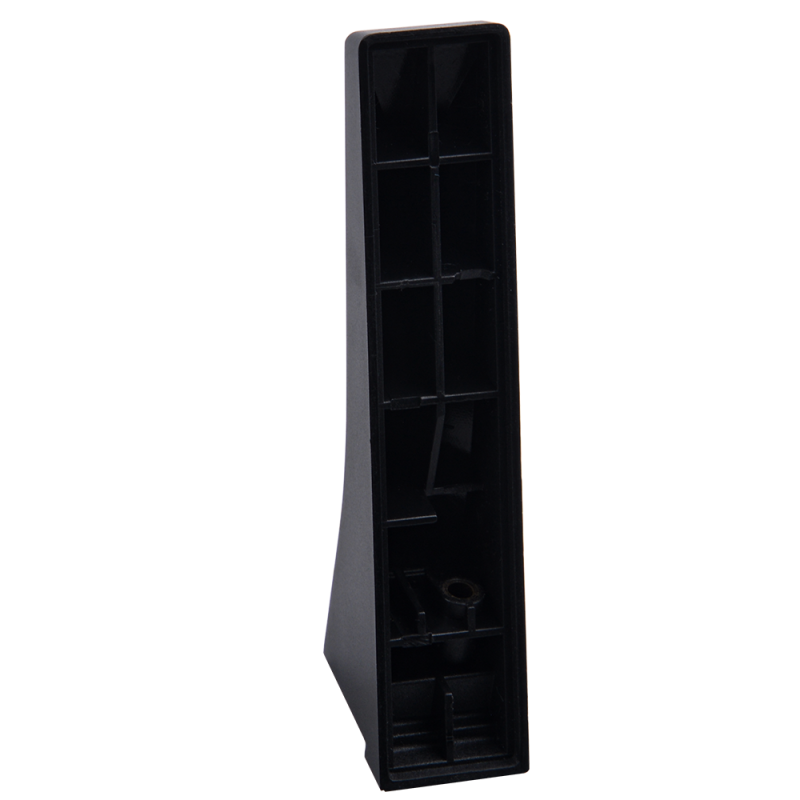
- 2 x M3 Long screw (For fixing standers)
- 2 x Robber feet
- 2 x Stander
- 1 x Instructions
HOWTO
Warning: Please read the user manual in the product packaging carefully before using the device.
This product has been designed with personal considerations in mind, but incorrect use may cause electric shock and fire. To avoid damaging the safety parts inside the machine, please observe the following rules during the installation, use and repairing:
To avoid Personal injury, please observe the following rules:

1. To prevent from fire disaster or electronic shock, please do not put the monitor in humidity or even in a worse condition;
2. Before using the device, make sure all cables are connected properly and the power cord is not damaged, if there is any damage, please contact us immediately;
3. To avoid dust, moisture and extreme temperatures, please Don’t place the device in any Damp area. Please place the device on a stable surface when in use;
4. Don’t put any object or splash any liquid into the openings of the device casing;
5. Please use the power cord provided with the machine, and if you use other power cord, which is not provided by the Seller, or the power cord with the device is damaged, please contact our professional After-Service Team immediately, we will provide you the best solution in 12 hours; This Tip is very Important when you use the Monitor;
6. Please use a 5V2A or above Adapter to supply power for the display. If you are not sure the power supply types, please contact our Support Team immediately, we will provide you the best solution in 12 hours;
7. Do not attempt to open the rear case of the device. There are no spare parts in the device that the customers can use to repair. If any abnormality occurs, please contact our Support Team immediately, we will provide you the best solution in 12 hours;

To prevent other injuries, please observe the following rules:
To prevent the machine damage, the following situations should be avoided:
1. Please turn o the monitor when you leave for a long time please;
2. Do not allow Children to throw or insert objects into the monitor;
3. Do not install spare parts that are not specifically designed for this device;
4. Please Unplug the power cord when the device is unattended for a long time.
5. Do not touch the power cord or signal cable when lightning strikes, otherwise it may cause
electric shock;
6. Do not let any object compress or wrap the power cord;
7. Do not place the monitor where the power cord can be easily damaged.
Please do not touch the IC components on the PCB to avoid damage to the device due to electrostatic breakdown.
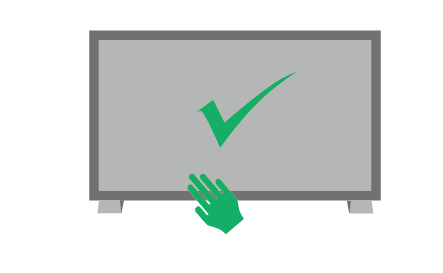
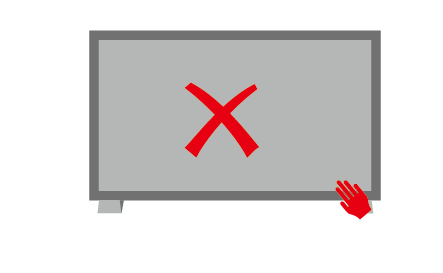
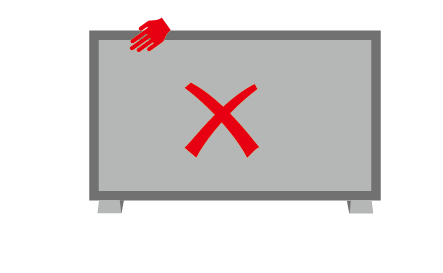
To prevent the machine damage, the following situations should be avoided: 1. Place the monitor where it is easy to fall; 2. Place the display near a radiator or heat source; Do not rub the screen with a hard object as it will scratch or permanently damage the screen. Do not use your fingers to press the screen for a long time, otherwise it will produce screen smear, and even a screen damage. Red, green, and blue pixel defects may appear on the screen, but it does not a ect the display function. The power cord is the main isolation device and must be put in an Easy-to-operate place. If possible, try to use the recommended resolution for best results. Because if you use other resolution other than the recommended resolution, a screen abnormality may occur. But this is a feature of a LCD panel with the fixed resolution. A still picture on the screen for a long time will cause damage to the screen and produce afterimages. Please make sure to use the screen saver, the afterimage and related issues are not covered in the scope of product repairing warranty
Interface function introduction
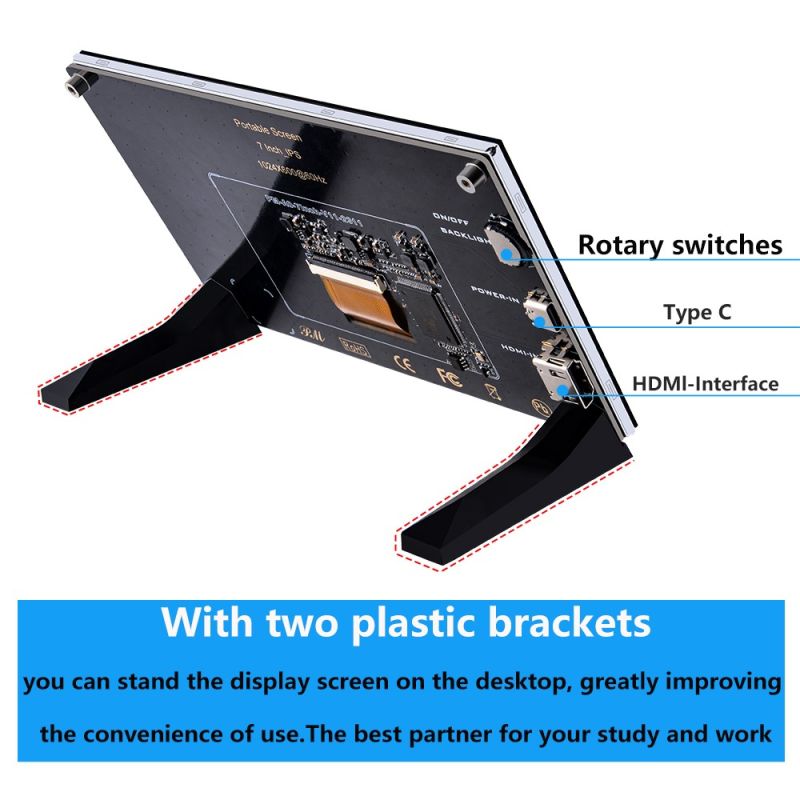
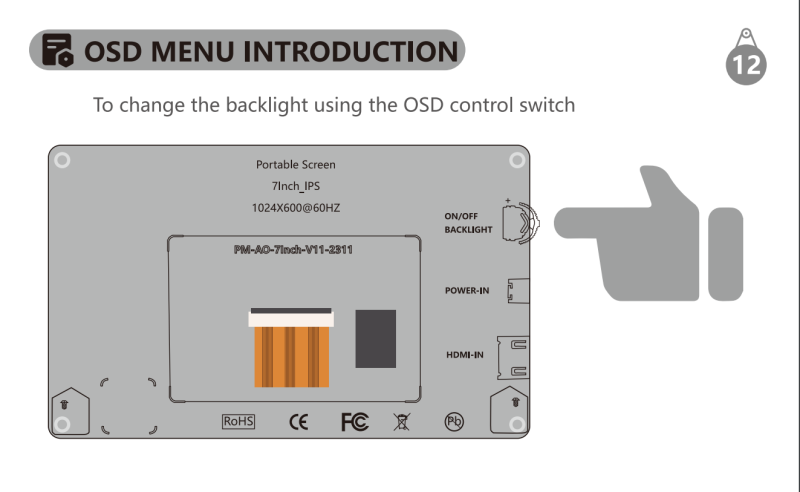
1. Rotary switches: Power On/Off & Backlight
2. Power IN: USB-C Port DC 5V INPUT
3. HDMI:Full-size HDMI IN
Screen Specifications:
| Parameters | Values |
|---|---|
| Screen Size: | 7 inches |
| Panel Type: | IPS (In-Plane Switching) |
| Resolution: | 1024x600 pixel |
| Refresh Rate: | 60Hz |
| Aspect Ratio: | 16:9 |
| Brightness: | 500 lux |
| View Angle: | 89° Degree(From 4 corner) |
| Power IN: | DC 5V USB-C |
| Signal IN: | Full-size HDMI |
| Touch Panel: | N/A |
Plug && Play
OSD Menu introduction
To change the backlight using the OSD control switch
And the toggle “UP” or “DOWN” to select menu of OSD, there are three sub-menu you can choose.
Locate the OSD control switch on the side of screen. It is a physical button, just toggle it up and down will change the backlight, and you will see notification information on the screen.
or Press the OSD control switch to activate the on-screen display menu. The menu will appear on the screen, allowing you to navigate through different settings.
Please make sure the display has been connected to power supply and HDMI cable to output device before adjusting OSD configurations.
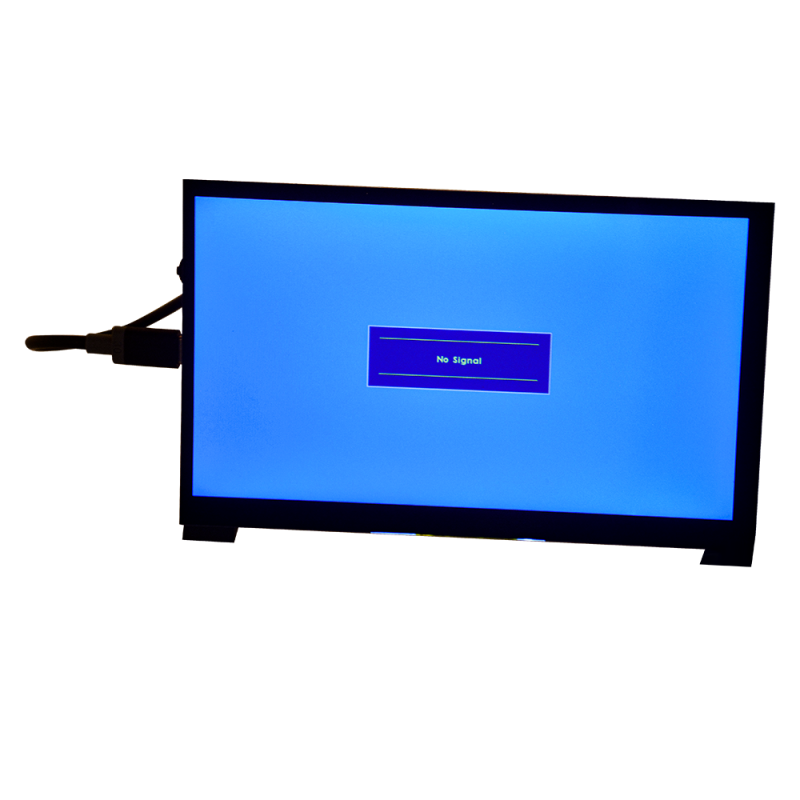
Please check the input source if you see following figure.
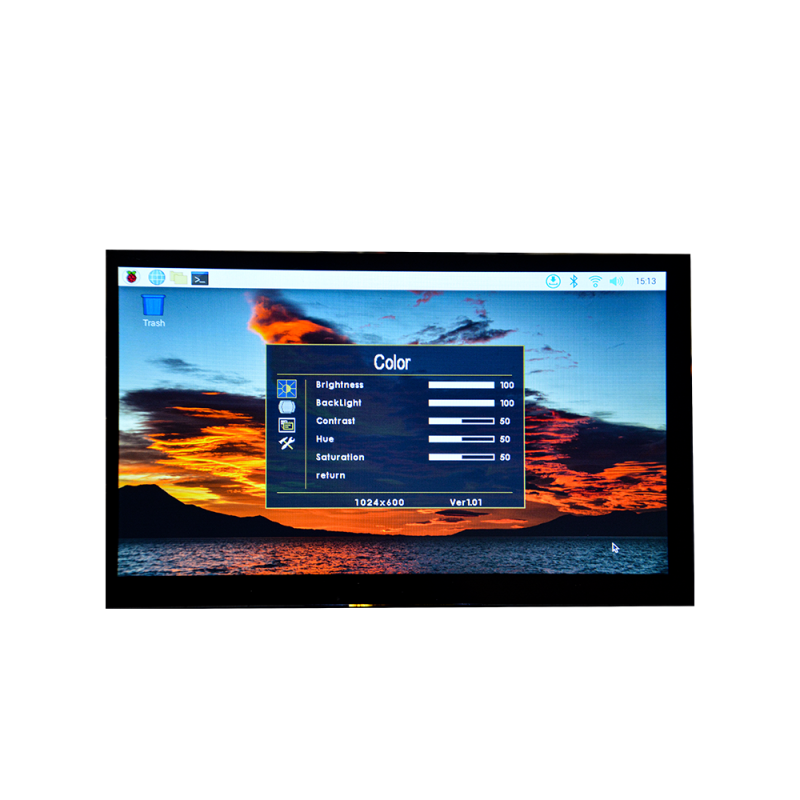
- Color
It can adjust the Brightness, Backlight, Contrast, Hue, Saturation when you toggle “up” or “down”:
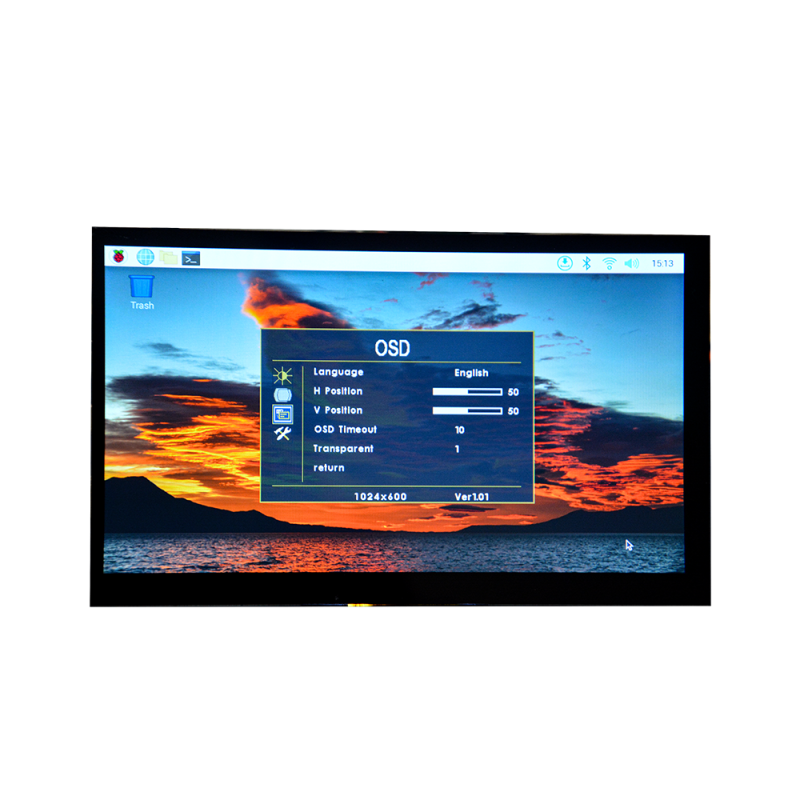
- OSD:
On this menu, you can adjust the language displayed on the screen, the horizontal position and vertical position, the time of OSD timeout and screen transparency.
- Function:
Here you can reset all settings, restore factory settings, change Display Ratio, enable blue screen, adjust Sharpness and screen flip. Please adjust to your liking.
How to change backlight?
To change the backlight using the OSD control switch on the 7-inch IPS portable screen, follow these steps:
Locate the OSD control switch on the side of screen. It is a physical button, just toggle it up and down will change the backlight, and you will see notification information on the screen. or Press the OSD control switch to activate the on-screen display menu. The menu will appear on the screen, allowing you to navigate through different settings.
- Long press toggle switch 3s and navigate the items by toggle up and toggle down when the OSD menu pops up.
For example: if you want to change the Brightness, navigate to Brightness item and then press the toggle switch once, the background color will change to highlight status, toggle up or toggle down to change value it will change the brightness immediately.
How to assemble?
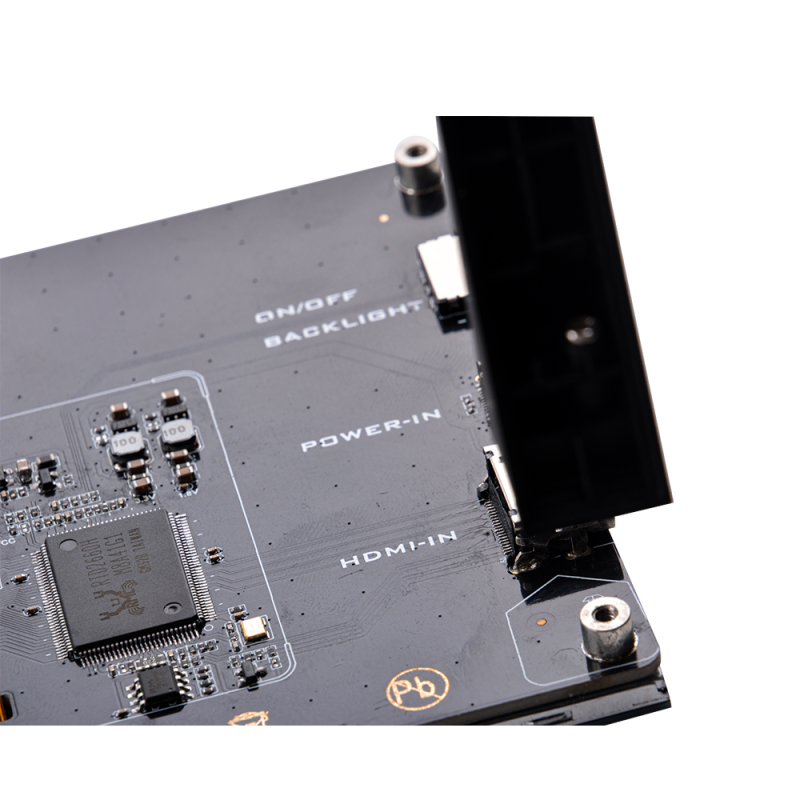
According to the silk mark on PCB board and fix the standers by using the screws included the package and then remove the protection film from the robber pad and paste it on the bottom of the standers.
Refer to following picture.
- 1. Prepare Standers
- 2. Align to the silk mark on PCB board.
- 3. Fix the standers to PCB mount point as following figure.
- 4. Past the robber feet on bottom of the standers. ( Please peel off the protection film before pasting)
How to assemble it with Raspberry Pi 4B?
- 1. Fix the Raspberry Pi 4B with the screen with Screws.
- 2. Connect the HDMI adapter to Raspberry Pi 4B and screen.
- 3. Connect the USB adapter to Raspberry Pi 4B and screen.
- 4. Connect the power supply to “Power IN” port on screen.
NOTE:Do not connect the power supply to Raspberry Pi 4B’s USB-C port, the screen will offer the power to bring up Raspberry Pi. you don’t have to connect the power to you Raspberry Pi once you connect the power to Screen.
How to assemble it with Raspberry Pi 3B/3B+?
- 1. Fix the Raspberry Pi 3B/3B+ with the screen with Screws.
- 2. Connect the HDMI adapter to Raspberry Pi 3B/3B+ and screen.
- 3. Connect the USB adapter to Raspberry Pi 3B/3B+ and screen.
- 4. Connect the power supply to “Power IN” port on screen.
NOTE:Do not connect the power supply to Raspberry Pi 3B/3B+’s MicroUSB port, the screen will offer the power to bring up Raspberry Pi. you don’t have to connect the power to you Raspberry Pi once you connect the power to Screen.
Package Includes:
- 1 x 7 inch 1024x600 60Hz portable Screen
- 1 x Full size HDMI cable
- 1 x High quality USB-C cable (Power cable)
- 1 x HDMI-to-MicroHDMI converter
- 1 x USB adaptor
- 2 x Plastic stander
- 2 x M2.5 Screws
- 2 x Robber feet
FAQ and Solution
- Q: When I press the toggle switch but it just turns on or turns off the screen so that I cannot activate the OSD function, How?
A: Please connect the input source to screen via HDMI cable and make sure the source is correct and the output device’s resolution has been setup properly, default resolution is 1024x600
- Q: When I Press “UP” or “DOWN”, it will show a volume bar but it cannot change the volume of the speaker on my Raspberry Pi 4B, is that malfunction?
A: Please make sure your Raspberry Pi‘s audio setting is setting to “via HDMI” but not from 3.5mm jack. if not, please set it up by using “sudo raspi-config” command in a terminal and navigate to “System options” “S2 Audio” “0 HDMI 1“ “OK” “Finish” and reboot your Raspberry Pi.
