ZP-0172: Difference between revisions
| Line 166: | Line 166: | ||
[[File:Changesystemdservice2.png|left|800px]] | [[File:Changesystemdservice2.png|left|800px]] | ||
<br style="clear:both;"> | <br style="clear:both;"> | ||
For example, Default ExecStart's parameters is called /home/pi/luma.examples/examples/animated_gif.py file, we can just comment it out with # (hash tag) and remove the hast tag before ExecStart=/bin/bash -c 'sudo python3 /home/pi/luma.examples/examples/sys_info.py &' and save it and quit. | For example, Default ExecStart's parameters is called /home/pi/luma.examples/examples/animated_gif.py file, we can just comment it out with # (hash tag) and remove the hast tag before ExecStart=/bin/bash -c 'sudo python3 /home/pi/luma.examples/examples/sys_info.py &' and save it and quit. | ||
Latest revision as of 11:08, 28 February 2024
Mini tower Kit for Raspberry Pi 5
Purchase links
- 52Pi official website: [ https://52pi.com/collections/new-arrivals/products/abs-mini-tower-kit-black-enlosure-case-for-raspberry-pi-5-with-cooler-oled ]
- Aliexpress: [ https://www.aliexpress.us/item/1005006395039840.html ]
Descriptions
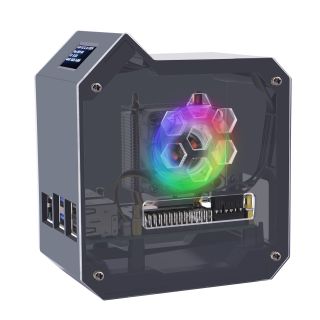
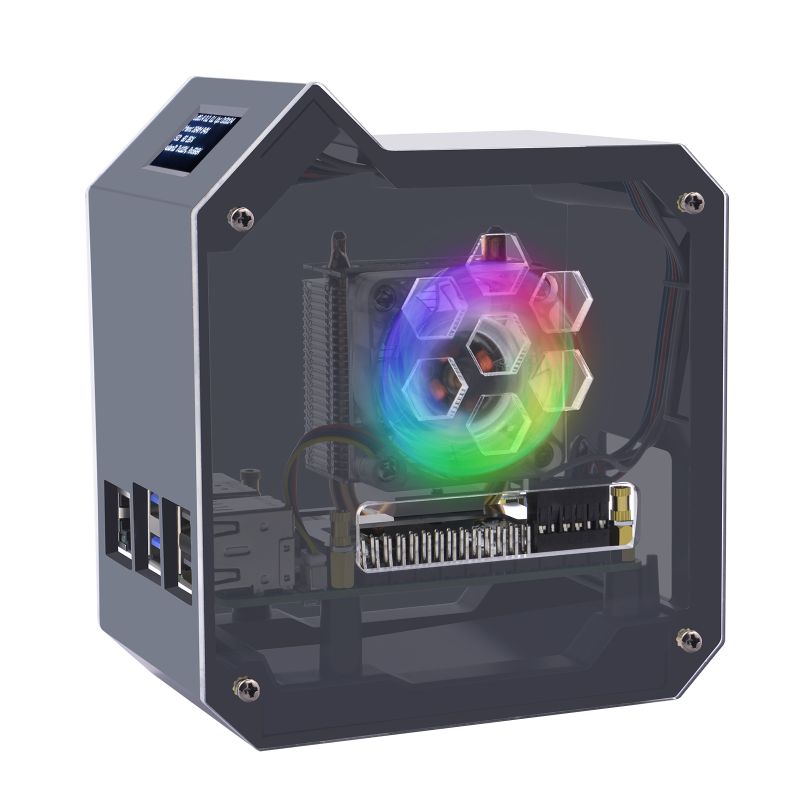
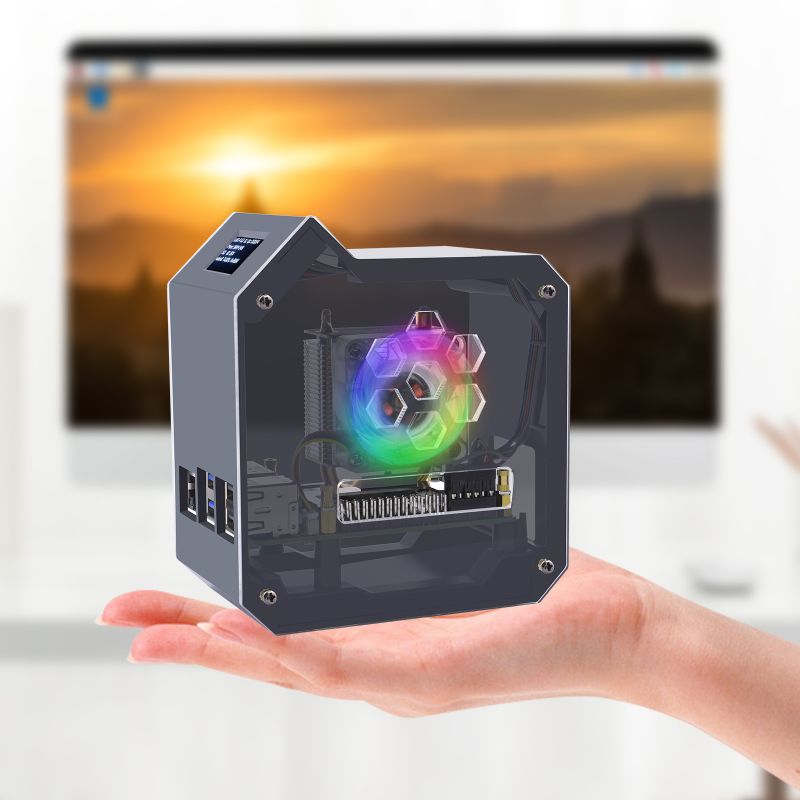
The minitower kit is specifically designed for Raspberry Pi 5, featuring a finely crafted casing aimed at enhancing the overall aesthetics and performance.
Features:
- Exquisite Casing: Precision-molded casing provides a robust enclosure for Raspberry Pi 5, safeguarding the mainboard from external elements.
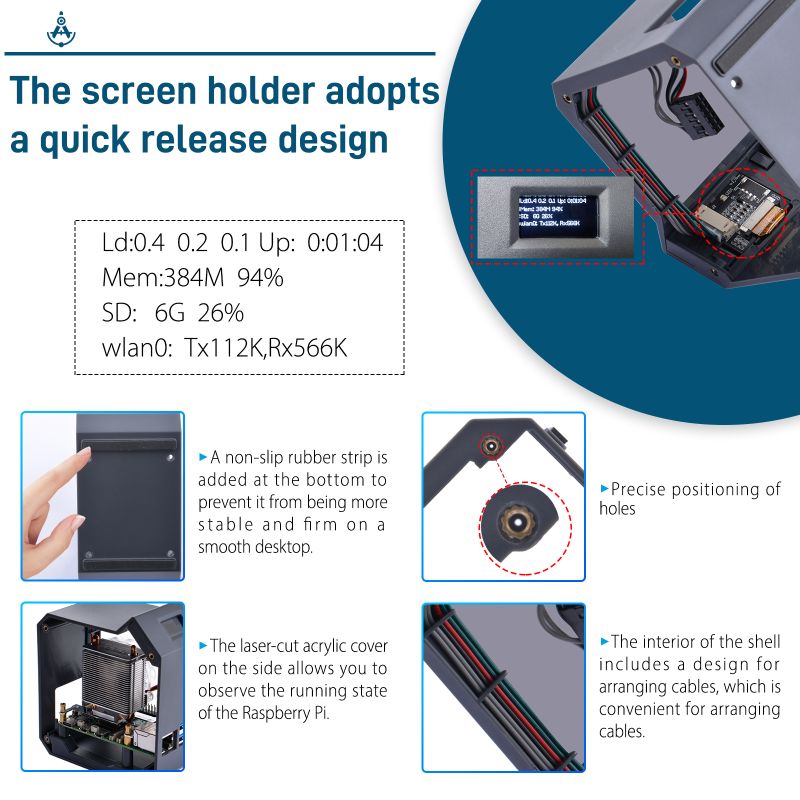
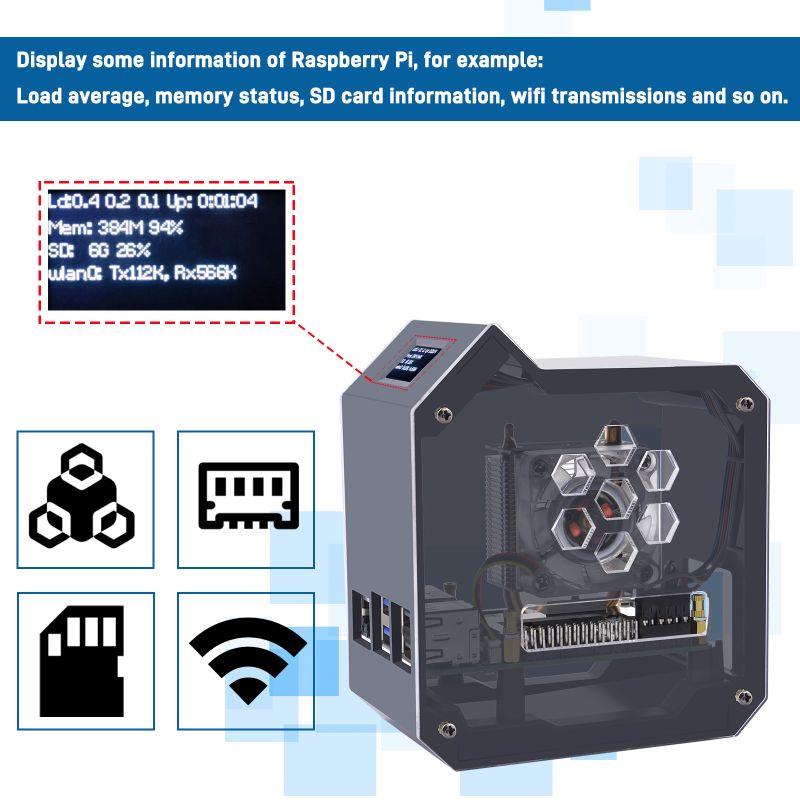
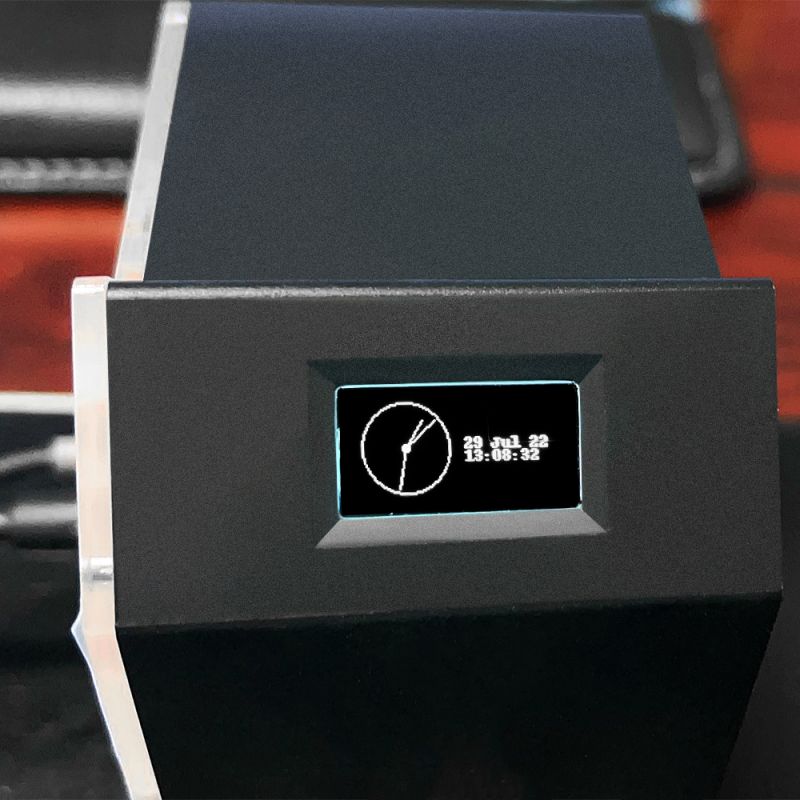
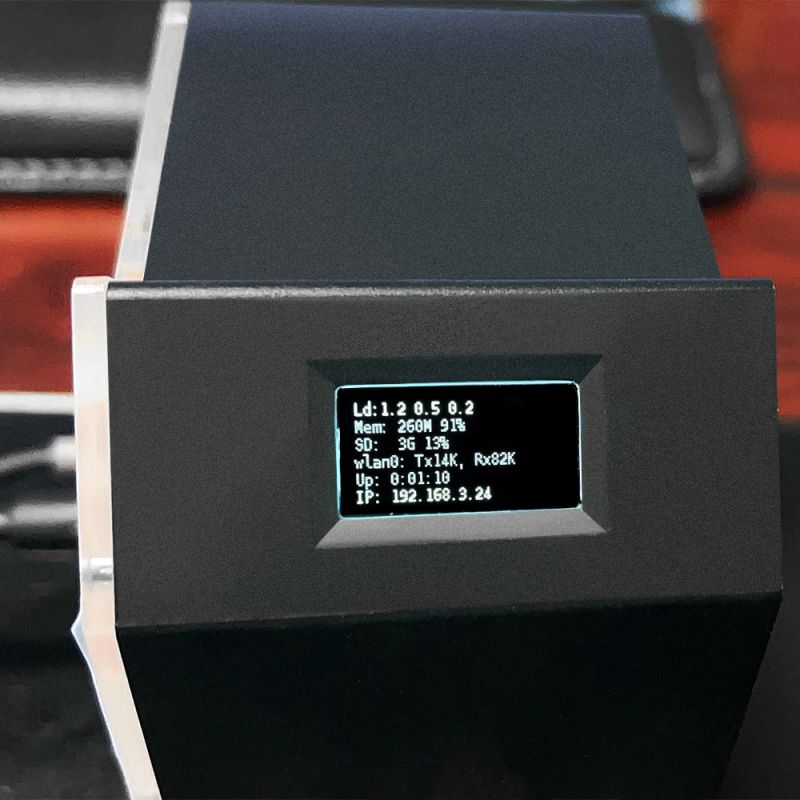
- 0.96 OLED Screen: Integrated with a small OLED screen for displaying system status information, such as temperature, CPU usage, and more.
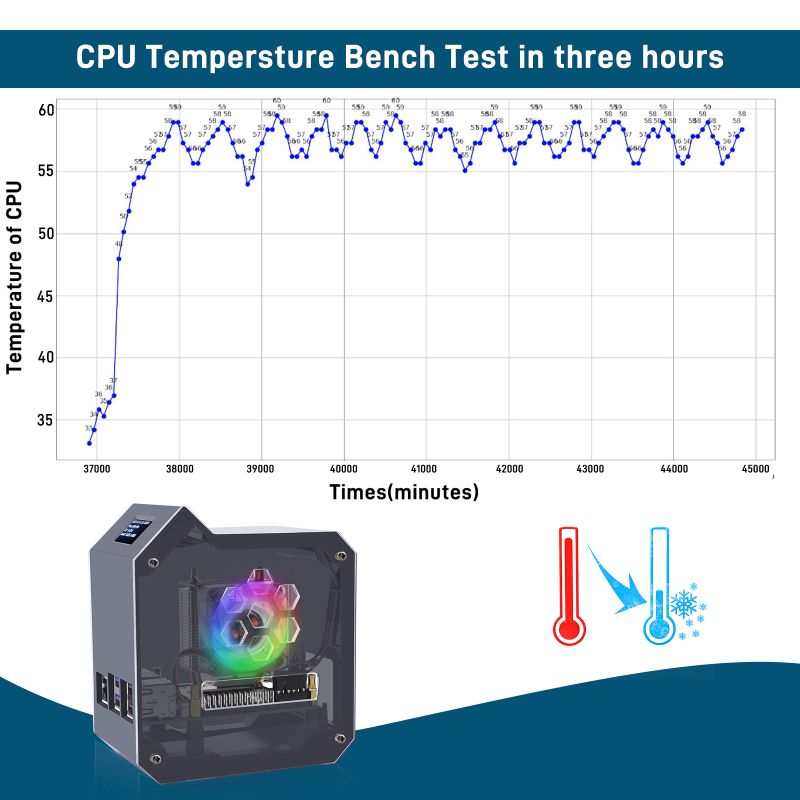
- ICE Tower Cooler: Equipped with an efficient ICE Tower Cooler to effectively lower the temperature of the Raspberry Pi 5, enhancing performance and stability.
- Acrylic Panels: Two acrylic panels on the sides add a touch of sophistication to the entire system while offering a clear view of internal components.
- LED Fan: The fan comes with automatically flashing LED lights, adding a visual flair. Note that these LED lights may not be programmatically turned off.
- 4Pin JST Interface: The fan supports system speed control, connecting to the Raspberry Pi 5 mainboard through a 4Pin JST interface for adaptable cooling based on varying heat dissipation needs.
Specifications
- OLED Display: 0.96 inch, SSD1306 chipset, 128x64 pixels
- Fan: PWM adjustable speed fan, JST 4Pin
- Colored LED fan: Can not be turned off.
- OLED Display communication protocol: I2C protocol, default register address: 0x3c
- Weight: 0.340Kg
- Dimension: 125 x 125 x 80 mm
Gallery
- Product outlook
- Design details
- Heat dissipation effect
- OLED display
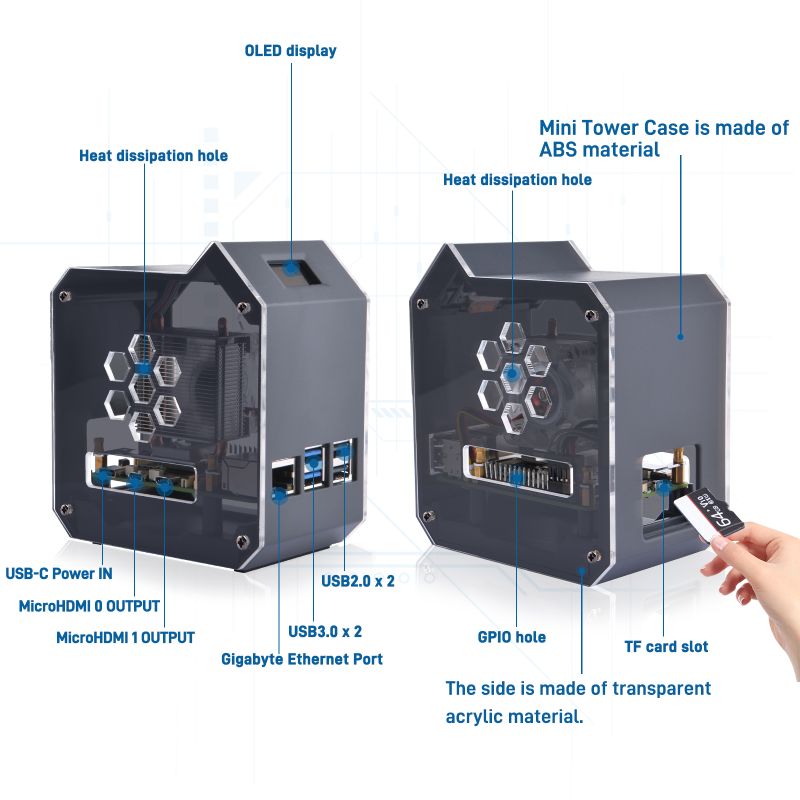
- Port Definitions
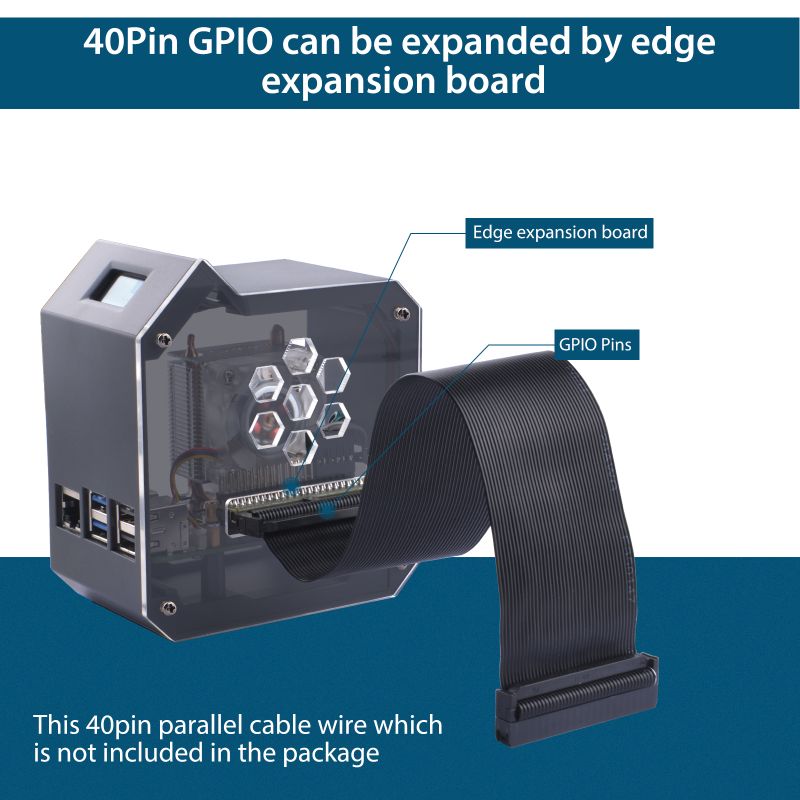
- Edge expansion board feature
- Application scenario
Diagram Details
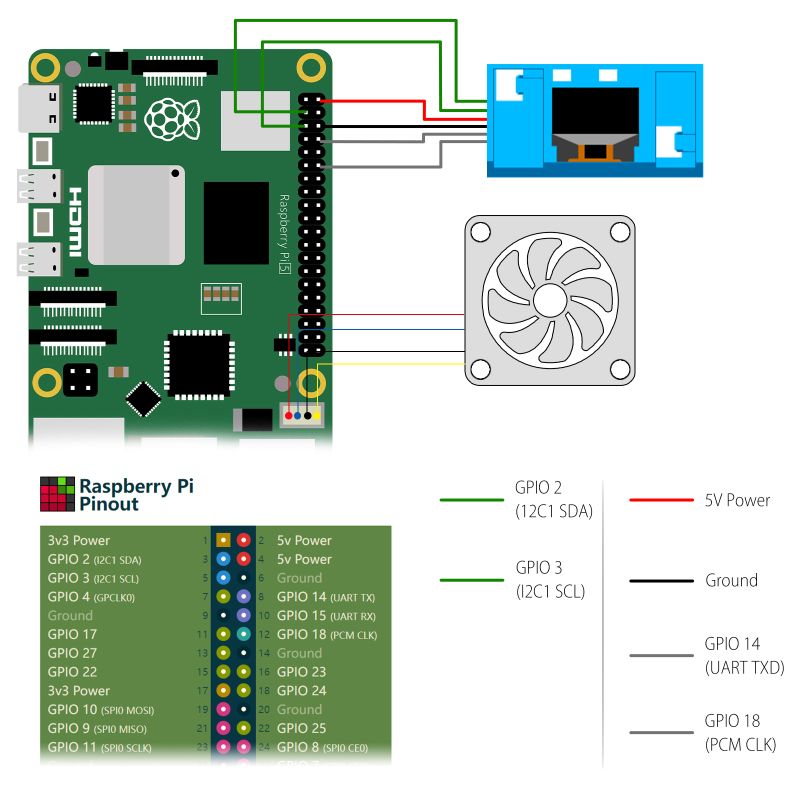
- Please check the diagram carefully, wrong connection may damage your device, please pay attension to the direction of the cable.
How to assemble it
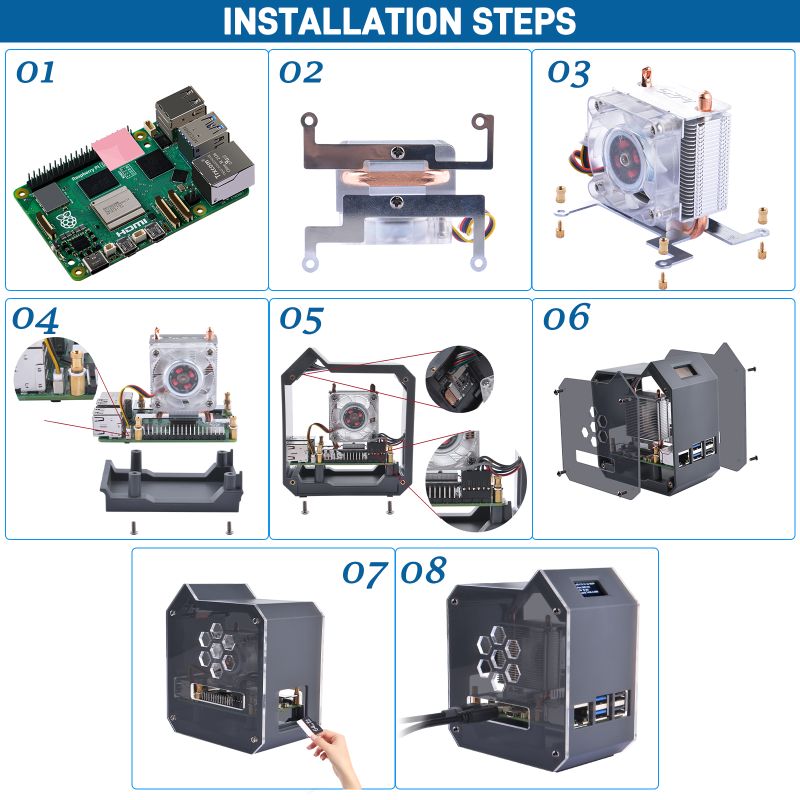
- Please follow following figure to assemble it.
- Step 1. Paste thermal pads after peeling off the protection film.
- Step 2. Fix the brackets to Ice tower cooler by using two M2.5 screws.
- Step 3. Fix copper pillar to the brackets.
- Step 4. Fix Ice tower cooler and bottom ABS stander with 4 M2.5 screws.
- Step 5. Connect the cable to GPIO as following figure.
- Step 6. Fix the acrylic panel on both sides by using M2.5 screws.
- Step 7. Insert into TF card slot with TF card which is flashed the latest Raspberry Pi OS image.
- Step 8. Connect the MicroHDMI cable to display and USB-C power supply to Raspberry Pi 5 to turn on the Raspberry Pi 5.
NOTE: The fan will not turn on if the temperature of CPU is lower than 60 degree!!! If the temperature of CPU is lower than 60 degree, the fan will not spin.
How to enable I2C OLED display
- We assume you are using Raspberry Pi OS,(32bit/64bit).
1. Turn on `i2c function` by using `sudo raspi-config` -> `interface options` -> `i2c` -> `enable` -> `yes`.
2. Check if the screen has been recognized by Raspberry Pi.
i2cdetect -y 1
if encount `command not found` error, please install `i2c-tools` by using `sudo apt update && sudo apt -y install i2c-tools`.
3. Install dependencies libraries:
sudo apt -y install python3 python3-pip python3-pil libjpeg-dev zlib1g-dev libfreetype6-dev liblcms2-dev libopenjp2-7
4. Grant privilleges to user `pi`
sudo usermod -a -G gpio,i2c pi
5. Download sample code from this repo:
git clone https://github.com/geeekpi/luma.examples.git
cd luma.examples/
6. Install the dependencies Do remember add the "." in command line, it means current directory, you will encount error if lost it.
sudo -H pip3 install -e . --break-system-packages
If you get this message,
error: externally-managed-environment

× This environment is externally managed
╰─> To install Python packages system-wide, try apt install
    python3-xyz, where xyz is the package you are trying to
    install.

    If you wish to install a non-Debian-packaged Python package,
    create a virtual environment using python3 -m venv path/to/venv.
    Then use path/to/venv/bin/python and path/to/venv/bin/pip. Make
    sure you have python3-full installed.

    If you wish to install a non-Debian packaged Python application,
    it may be easiest to use pipx install xyz, which will manage a
    virtual environment for you. Make sure you have pipx installed.

    See /usr/share/doc/python3.11/README.venv for more information.

note: If you believe this is a mistake, please contact your Python installation or OS distribution provider. You can override this, at the risk of breaking your Python installation or OS, by passing --break-system-packages.
hint: See PEP 668 for the detailed specification.
please try to fix it according to following steps:
- You can use Python's venv like described here. [ https://stackoverflow.com/a/75696359/10626495 ]
However if you really want to install packages that way, then there are a couple of solutions:
- use pip's argument --break-system-packages,
- add following lines to ~/.config/pip/pip.conf:
[global]
break-system-packages = true
and then execute "sudo -H pip3 install -e ." again.
7. Entering into example folder and test it.
cd examples/
python3 clock.py
8. At this time, the OLED screen is displaying clock.
If there is black screen or have nothing display on the screen, please check whether the cable is connected properly, and then check if you have enable the I2C function, and you can just typing : i2cdetect -y 1 in a terminal and check if there is an address like "3C" on screen. if not, please reconnect the cable and reboot raspberry pi. If you can not download the repository from github, please check the internet connection and please make sure you can access to github.com. If you have issue with using the OLED display, please contact us first.
How to change display information
If you want to change the display information, please follow the steps below.
- Open a terminal and navigate to /lib/systemd/system/ folder.
- Edit 'minitower_oled.service' file and adding your script.
[Unit]
Description=Minitower OLED Service

[Service]
Type=forking
User=root
# ExecStart=/bin/bash -c 'sudo python3 /home/pi/luma.examples/examples/animated_gif.py &'
ExecStart=/bin/bash -c 'sudo python3 /home/pi/luma.examples/examples/sys_info.py &'
Restart=always
RestartSec=30

[Install]
WantedBy=multi-user.target
For example, Default ExecStart's parameters is called /home/pi/luma.examples/examples/animated_gif.py file, we can just comment it out with # (hash tag) and remove the hast tag before ExecStart=/bin/bash -c 'sudo python3 /home/pi/luma.examples/examples/sys_info.py &' and save it and quit.
you can also replace the file name with the file names in folder: /home/pi/luma.examples/examples/
- Reload systemd service and minitower_oled.service
sudo systemctl daemon-reload
sudo systemctl enable minitower_oled.service
sudo systemctl restart minitower_oled.service
- You will find the content of OLED display has been changed.
- More demo code please access your local folder in: /homne/pi/luma.examples/examples/ folder, there are plenty funny code inside the folder.
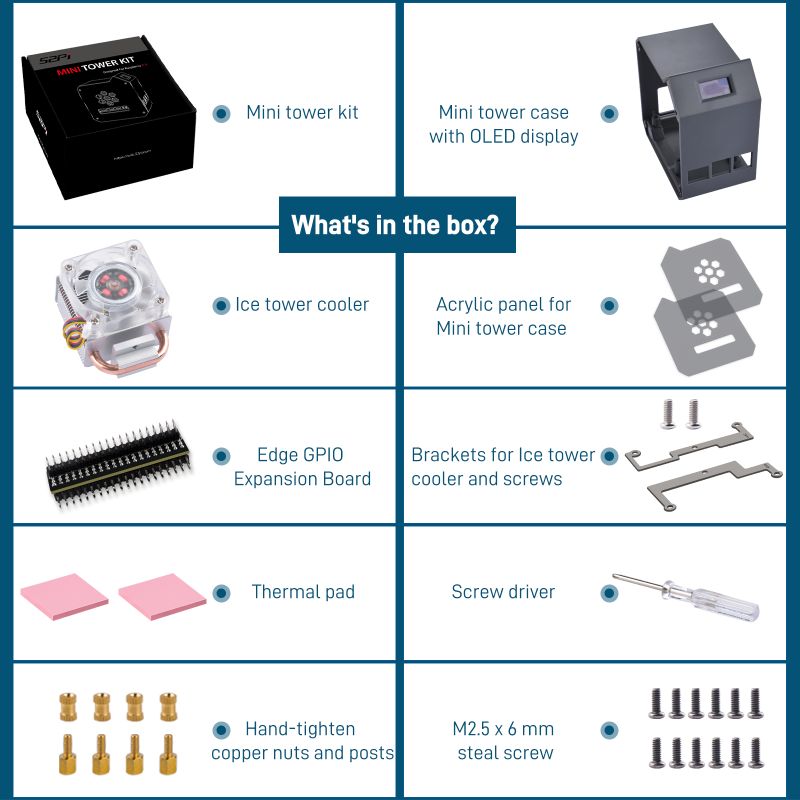
Package Includes
- 1 x Minitower kit for Raspberry Pi 5
- 1 x Mini tower case with OLED display
- 1 x ICE tower cooler
- 2 x Acrylic panel for mini tower case
- 1 x Edge GPIO expansion board
- 2 x Brackets for Ice tower cooler and screws
- 2 x Thermal pad
- 1 x Screw driver
- 4 x Hand-tighten copper nuts and posts
- 12 x M2.5x6mm steal screw
Keywords
- Mini tower Kit for Raspberry Pi 5, mini tower, ice tower cooler, raspberry Pi 5 case.
