EP-0112: Difference between revisions
Jump to navigation
Jump to search

| (One intermediate revision by the same user not shown) | |||
| Line 52: | Line 52: | ||
==How to Assemble== | ==How to Assemble== | ||
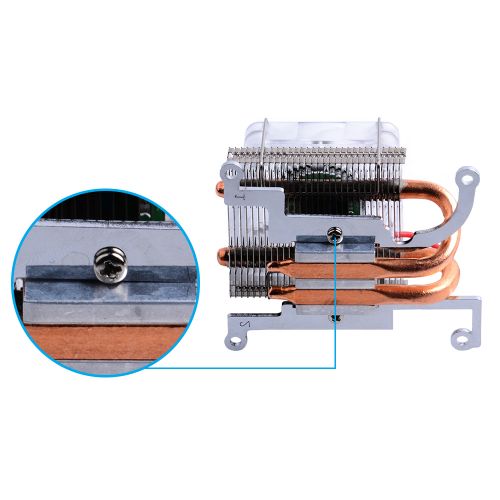
* 1. Fixed mounting brackets with 2 M2.5 screws to Ice Tower Cooler. Please pay attention to the direction of mounting brackets. | * 1. Fixed mounting brackets with 2 M2.5 screws to Ice Tower Cooler. Please pay attention to the direction of mounting brackets. | ||
[[File:EP 0112 assem1.jpg|left|500px]] | |||
<br style="clear:both;"> | |||
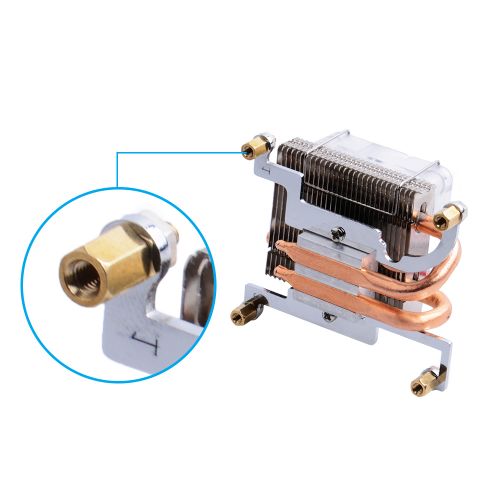
* 2. Add copper stick and nuts to mounting brackets. | * 2. Add copper stick and nuts to mounting brackets. | ||
[[File:EP 0112 assem2.jpg|left|500px]] | |||
<br style="clear:both;"> | |||
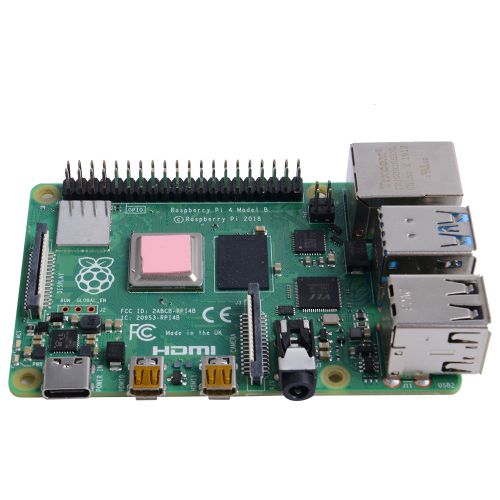
* 3. Paste thermal tape to Raspberry Pi’s CPU SOC. | * 3. Paste thermal tape to Raspberry Pi’s CPU SOC. | ||
[[File:EP 0112 assem3.jpg|left|500px]] | |||
<br style="clear:both;"> | |||
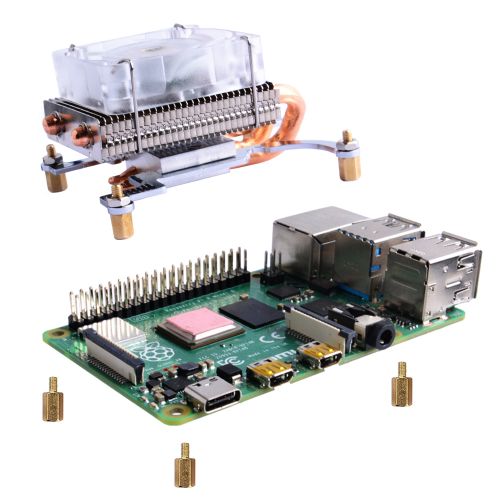
* 4. Fixed mounting brackets to Raspberry Pi with copper sticks. | * 4. Fixed mounting brackets to Raspberry Pi with copper sticks. | ||
[[ File:EP 0112 assem4.jpg|left|500px]] | |||
<br style="clear:both;"> | |||
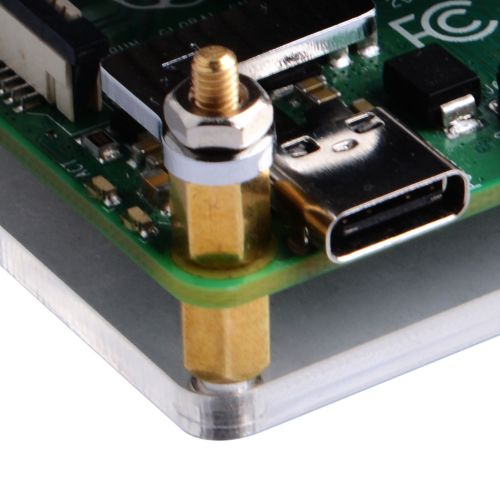
* 5. Fixed Acrylic protection panel to Raspberry Pi with M2.5 screws. | * 5. Fixed Acrylic protection panel to Raspberry Pi with M2.5 screws. | ||
[[ File:EP 0112 assem5.jpg|left|500px]] | |||
<br style="clear:both;"> | |||
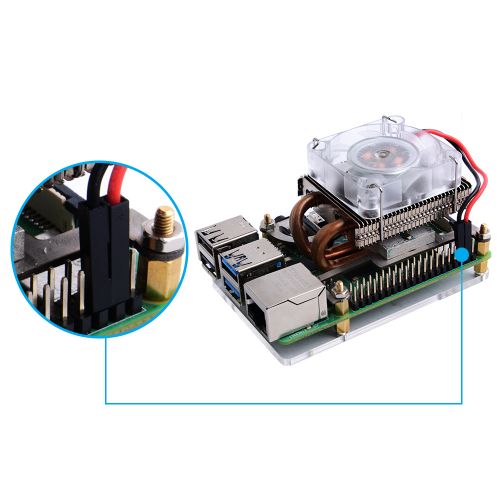
* 6. Connect the red wire to 5V and black wire to GND on Raspberry Pi’s GPIO. | * 6. Connect the red wire to 5V and black wire to GND on Raspberry Pi’s GPIO. | ||
[[ File:EP 0112 assem6.jpg|left|500px]] | |||
<br style="clear:both;"> | |||
* 7. Connect power supply to Raspberry Pi and Have fun! | |||
==Keywords== | ==Keywords== | ||
* ICE tower, ICE cooler, 52pi, Raspberry Pi 4B,heat sink,ice cool, cooling fan, cooler | * ICE tower, ICE cooler, 52pi, Raspberry Pi 4B,heat sink,ice cool, cooling fan, cooler | ||
Revision as of 16:10, 8 November 2019
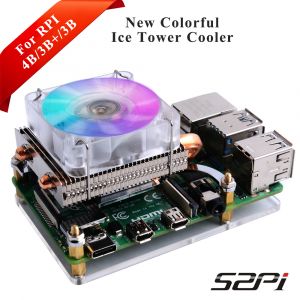
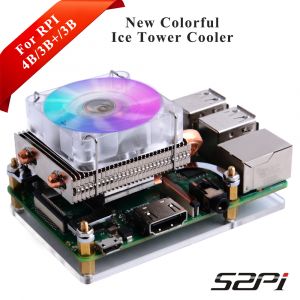
New Colorful Ice Tower Cooler


Description
The 52Pi New Colorful Ice Tower Cooler is inspired by the single-stack tower-style heatsink and fan (HSF) assemblies which dominate the desktop PC market. It includes thermal interface material (TIM) pads, mounting brackets and accessories for the Raspberry Pi 4 and Raspberry Pi 3 Model B/Model B+, a tiny screwdriver, and a small but full-color manual. new feature is using Compatible bracket and a color LED fan with automatic color change.
Features
- Color LED fan with automatic color change
- Single-stack tower-style heatsink
- DC 5V Power in (Can be powered by the Raspberry Pi)
- 5mm copper tube
- Super heat dissipation
- Rated power 0.4W @5V, 0.08A
- Easy to setup
- Acrylic protection panel
- Plug and play
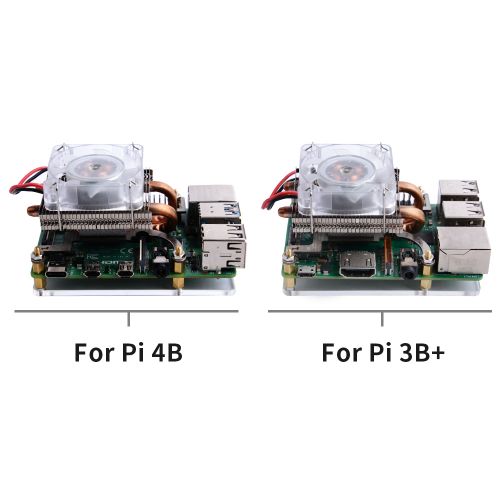
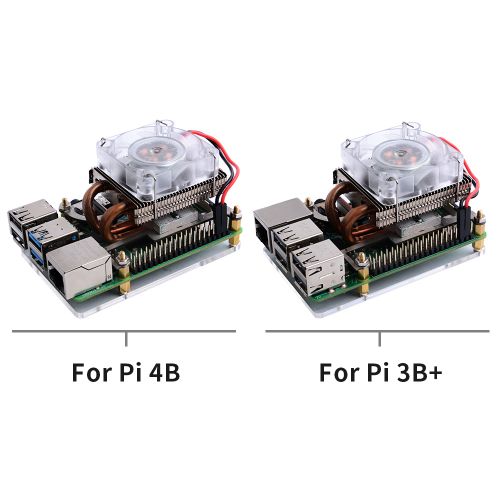
Compatibility
- Front View:

- Back View:

Gallery
- Raspberry Pi 4B
 |
 |
 |
- Raspberry Pi 3B/3B+
 |
 |
 |
Package Includes
- 1 x Ice Tower Cooler
- 4 x M2.5x6+6 Copper Stick
- 4 x M2.5 Nuts
- 6 x M2.5x6 Screws
- 3 x Thermal Tape
- 1 x Screwdriver
- 1 x Mounting brackets pack (For 3B/3B+/4B)
- 1 x Acrylic protection panel
- 1 x Instructions

How to Assemble
- 1. Fixed mounting brackets with 2 M2.5 screws to Ice Tower Cooler. Please pay attention to the direction of mounting brackets.

- 2. Add copper stick and nuts to mounting brackets.

- 3. Paste thermal tape to Raspberry Pi’s CPU SOC.

- 4. Fixed mounting brackets to Raspberry Pi with copper sticks.

- 5. Fixed Acrylic protection panel to Raspberry Pi with M2.5 screws.

- 6. Connect the red wire to 5V and black wire to GND on Raspberry Pi’s GPIO.

- 7. Connect power supply to Raspberry Pi and Have fun!
Keywords
- ICE tower, ICE cooler, 52pi, Raspberry Pi 4B,heat sink,ice cool, cooling fan, cooler