K-0180
Jump to navigation
Jump to search
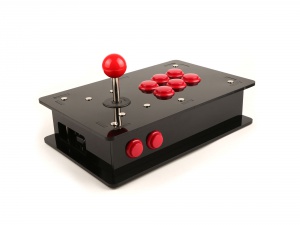
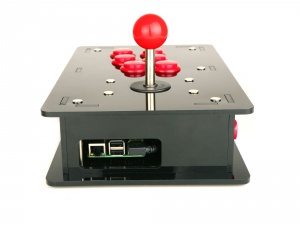
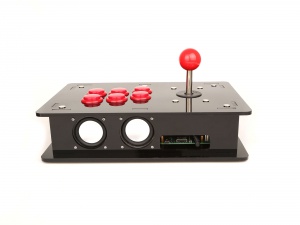
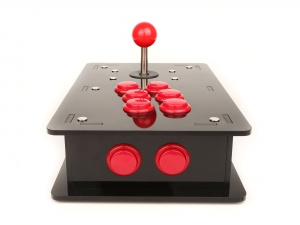
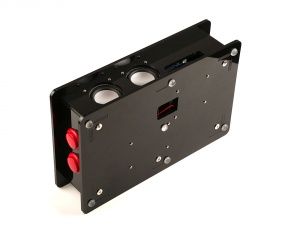
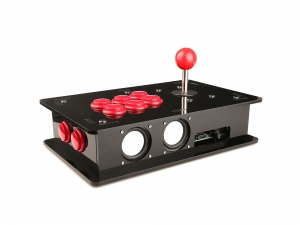
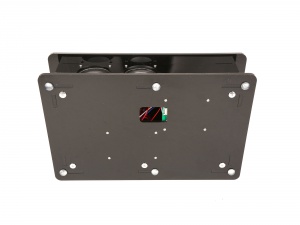
Raspberry Pi Acrylic Retro Game Arcade DIY Kit
Description
Retro games are generally those produced from the 1970s to 1990s,
and include video games for systems and consoles such as the Atari 2600, Nintendo Entertainment System, Master System,
Atari 5200, Atari 7800, Game Boy line, PC Engine, Mega Drive, Super NES, Atari Jaguar, Game Gear, 3DO, Sega Saturn, Atari Lynx,
PlayStation, Nintendo 64, and Sega Dreamcast as well as personal computer games for the Commodore 64, MSX, ZX81, ZX Spectrum,
Apple II, Amstrad CPC, Commodore Amiga, NEC PC-88, PC-98, Sharp X1, Sharp X68000, ZX80, FM-7 and DOS platforms.
Arcade games are also popular, especially early games by Konami, Sega, Atari, Taito, Williams Electronics, Namco, Nintendo, Technos, Capcom, and SNK.
Games in this era were frequently attributed to individual programmers, and many retro gamers seek out games by particular developers, such as Tomohiro Nishikado,
Shigeru Miyamoto, Shigesato Itoi, Bill Williams, Eugene Jarvis, Dave Theurer, Nasir Gebelli, Yuji Naka, Jeff Minter, Yuji Horii, Yu Suzuki, Tony Crowther, Andrew Braybrook,
Hideo Kojima, and Hironobu Sakaguchi.
Some games are played on the original hardware; others are played through emulation.
Some retro games can still be played online using just the internet browser via DOS emulation.
In some cases, entirely new versions of the games are designed, or remade.
As well as playing games, a subculture of retrogaming has grown up around the music in retro games.
And this Kit can offer you a change to make a new game arcade with Raspberry pi by yourself.
Features
- Easy to setup
- High performance
- High integration
- Exquisite appearance
- Package Weight: 1.8Kg
Package Include
- 1 x 5mm Acrylic enclosure
- 1 x Raspberry Pi 3 Module B with 2GB RAM/Bluetooth/Wi-Fi
- 1 x Class 10 /16GB fast speed TF card ( include card slot)
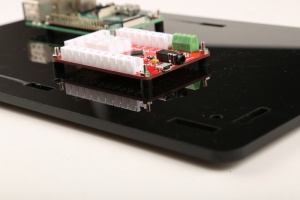
- 1 x High quality USB Joystick control board( Include High Quality audio module on board)
- 1 x High quality Joystick
- 10 x Push Buttions( include 2 smaller one)
- 2 x High quality Loud speaker
- 1 x 3.5mm jack audio cable wire
- 1 x USB to microUSB cable wire
- 1 x Standard 5V/2.5A power supply
- 5 x long Binding screw & Nut
- 4 x short Binding screw & Nut
- 4 x anti-slipper mat
- 1 x Instructions document
Galley
|
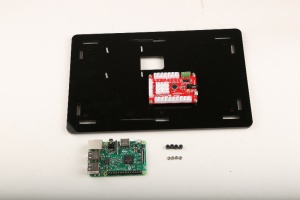
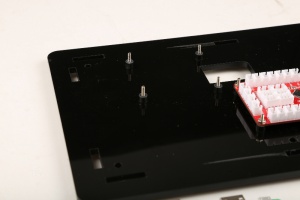
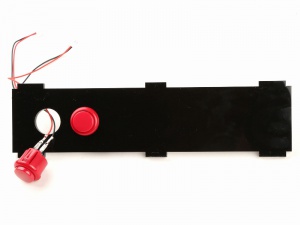
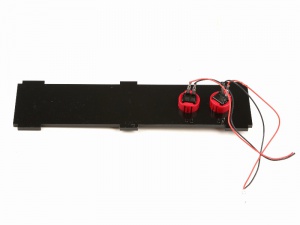
} How to assemble it
|
