EP-0077: Difference between revisions
| Line 77: | Line 77: | ||
==How to set it up== | ==How to set it up== | ||
*1. Remove your TF card and connect it to your PC or laptop with TF card adapter. | *1. Remove your TF card and connect it to your PC or laptop with TF card adapter. | ||
*2. Modify /boot/config.txt file as following: | *2. Modify /boot/config.txt file as following, for example, my pi is Raspberry Pi 3 model B: | ||
<pre> | <pre> | ||
device_tree=bcm2710-rpi-3-b.dtb | device_tree=bcm2710-rpi-3-b.dtb | ||
| Line 83: | Line 83: | ||
dtoverlay=pi3-act-led,gpio=21 | dtoverlay=pi3-act-led,gpio=21 | ||
</pre> | </pre> | ||
<pre>NOTE: device_tree=PARAMETER ACCORDING TO YOUR PI's Model. </pre> | |||
{| class="wikitable" | |||
! Raspberry Pi model !! Device_Tree Info | |||
|Raspberry Pi B : || device_tree=bcm2708-rpi-b.dtb | |||
|- | |||
|Raspberry Pi 2B : || device_tree=bcm2709-rpi-2-b.dtb | |||
|- | |||
|Raspberry Pi B+ :|| device_tree=bcm2708-rpi-b-plus.dtb | |||
|- | |||
|Raspberry Pi 3 B: || device_tree=bcm2710-rpi-3-b.dtb | |||
|} | |||
*3. Download shell script: | *3. Download shell script: | ||
<pre> | <pre> | ||
Revision as of 14:05, 18 April 2017
Power Button For RPi
Description
As everyone at some point will recognize the Raspberry Pi doesn't include any kind of shutdown button.
So the only way to power it off is by unplugging it from the power supply.
To make sure you get no corruption of your data files on the SD card you should shutdown the Raspberry before powering it off.
So the whole procedure can be a bit annoying especially if you want to use the Raspberry as some kind of embedded PC .
e.g. a media server or an internet radio.
Features
Power Button provides a small circuit that includes the features:
- Sending a shutdown signal to the Raspberry if the Shutdown Button is pressed
- Waiting for the Raspberry to shut down
- Powering off the Raspberry after save shutdown
- Powering on the Raspberry after the Button is pressed again
- LED light indicating the current state: On / Shutdown / Off
- Easy to setup
Dimension
| Parameter | Value |
|---|---|
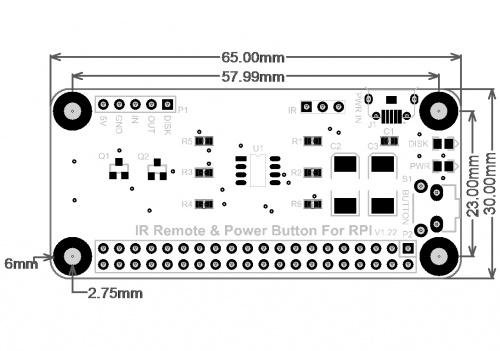
| Dimension | 65mm x 30 mm x 20mm |
| Weight | 22.72g |
Package Includes
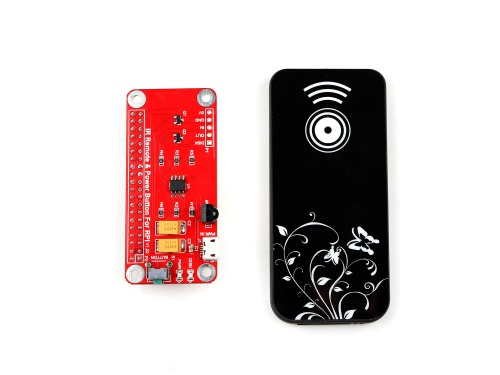
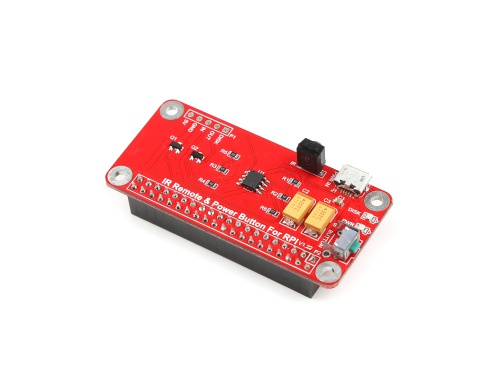
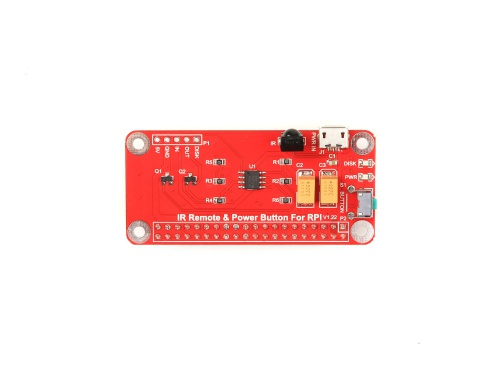
- Power Button For RPi Module x1
- IR Remote controller ( without battery) x1
Mechanical Drawing
Parameters
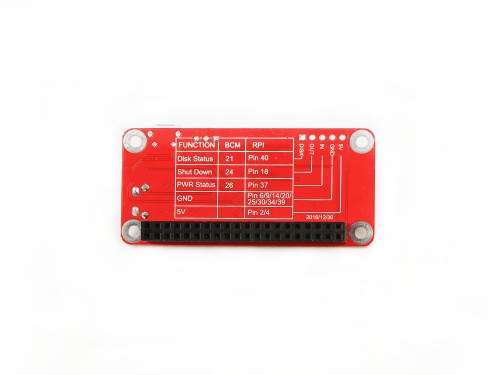
There is a chart which can show you the function of the GPIO Pin definition of this board:
| Function | BCM | RPi |
|---|---|---|
| Disk Status | 21 | Pin 40 |
| Shut Down | 24 | Pin 18 |
| PWR Status | 26 | Pin 37 |
| GND | N/A | Pin 6/9/14/20/25/30/34/39 |
| 5V | 5V | Pin 2/4 |
NOTE: Please make sure that your Raspberry Pi have 5V/2.5A power supply with this module!!!
How to wire it up
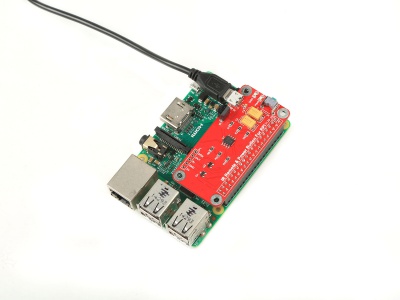
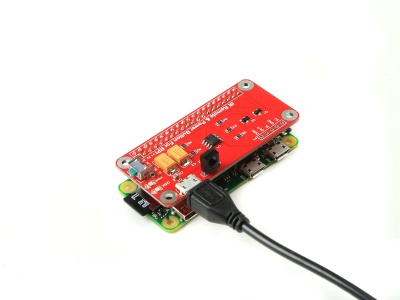
Do NOT connect your power supply to Raspberry Pi, Please connect it to Power Button directly.
How to set it up
- 1. Remove your TF card and connect it to your PC or laptop with TF card adapter.
- 2. Modify /boot/config.txt file as following, for example, my pi is Raspberry Pi 3 model B:
device_tree=bcm2710-rpi-3-b.dtb
dtoverlay=power-off,gpiopin=26
dtoverlay=pi3-act-led,gpio=21
NOTE: device_tree=PARAMETER ACCORDING TO YOUR PI's Model.
| Raspberry Pi model | Device_Tree Info | Raspberry Pi B : | device_tree=bcm2708-rpi-b.dtb |
|---|---|---|---|
| Raspberry Pi 2B : | device_tree=bcm2709-rpi-2-b.dtb | ||
| Raspberry Pi B+ : | device_tree=bcm2708-rpi-b-plus.dtb | ||
| Raspberry Pi 3 B: | device_tree=bcm2710-rpi-3-b.dtb |
- 3. Download shell script:
apt-get install -y wiringPi
cd ~
git clone https://github.com/yoyojacky/powerbutton.git
cd ~/powerbutton
sudo mv ~/powerbutton/gpioshutdown /etc/init.d/
sudo chmod +x /etc/init.d/gpioshutdown
sudo vim.tiny /etc/rc.local
Add those three lines before exit 0
sudo /etc/init.d/gpioshutdown
gpio mode 25 out
gpio write 25 1
- 4. Reboot your Raspberry Pi and plug power button on your RPi, press the button to test.
Have fun.
Video Tutorial
Please follow the link:
[ Raspberry Pi 3B with Ir remote power button and pi supply & USB HUB | https://youtu.be/BhEoGZshiPM ]
