ZP-0072
Iron Case for Jetson Nano
Description
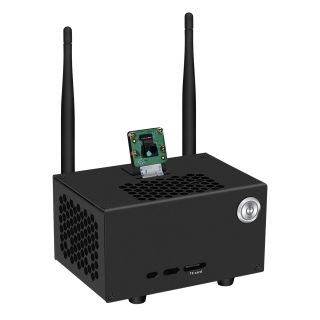
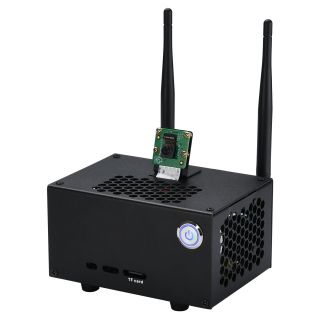
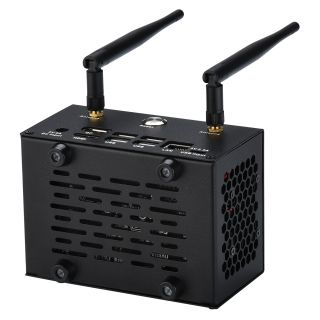
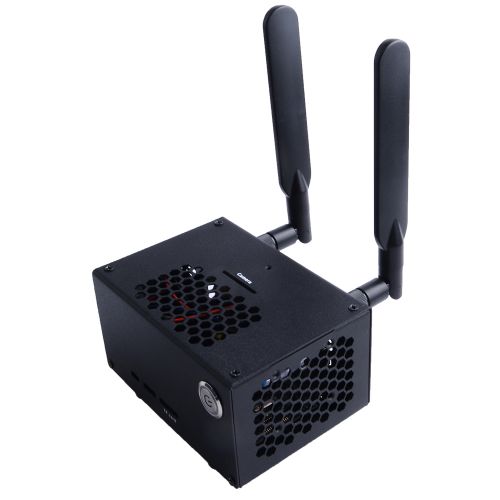
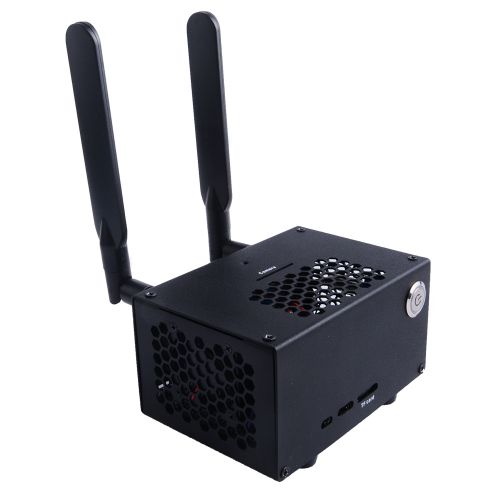
This is an all-metal functional enclosure specifically tailored for Jetson Nano.
Its honeycomb vents reduce the heat generated by your device while it’s performing neural network training or running machine vision programs.
And the internal super quiet fan will be good auxiliary heat dissipation, beautiful workmanship of the outer casing, perfect interface opening for each connector.
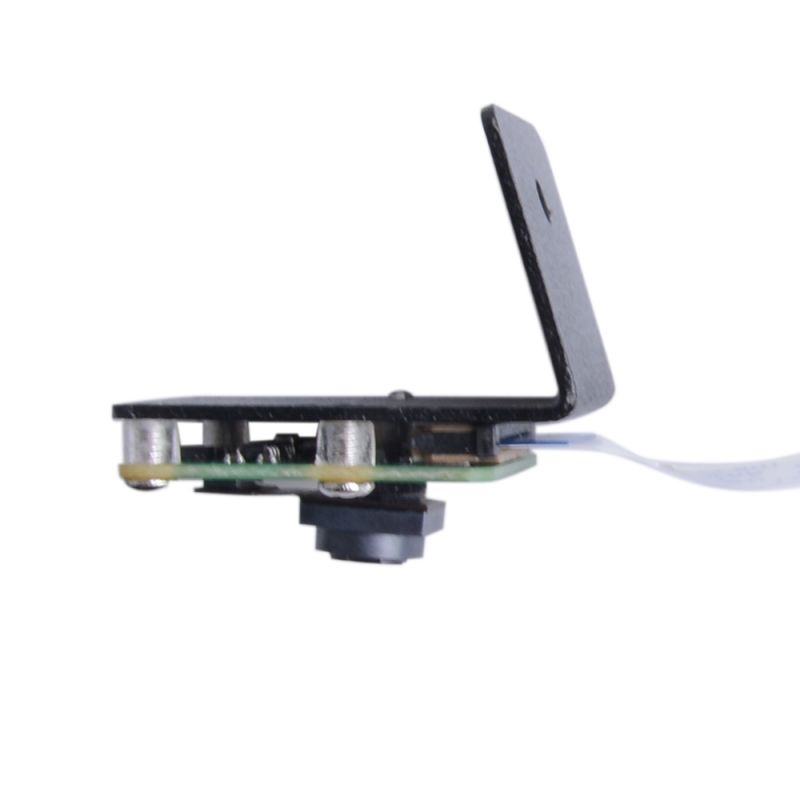
In addition, in order to consider the equipment that Jetson Nano may use, such as the camera, it specially provide the camera holder for Jetson Nano.
The metal bracket makes your visual neural network learning device more convenient to use.
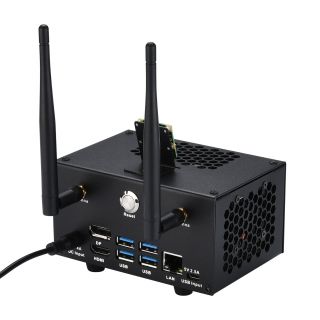
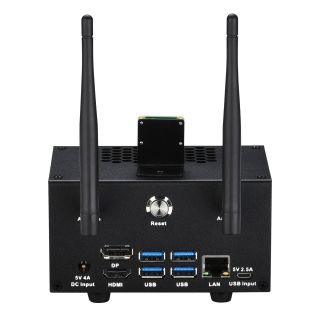
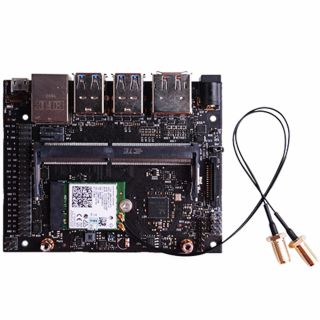
At the same time, it provides two perfect wireless network expansion antenna interfaces for the Jetson Nano on the outer casing, so that you can avoid Metal shielding interference when it accessing network via extend network interface card, such as intel network card.
A switch button with backlight is provided on the front of the panel.
In order to prevent mistakenly touching, a reset button is provided on the back of the panel.
Four anti-skid rubber pads are added to the bottom of the case to prevent skid.
Features
- Easy to assemble
- Camera holder
- Extended Antenna Base for the network interface card
- Honeycomb vents style
- Super quiet fan
- Good quality
- Anti-skid rubber pads
Gallery
How to assemble
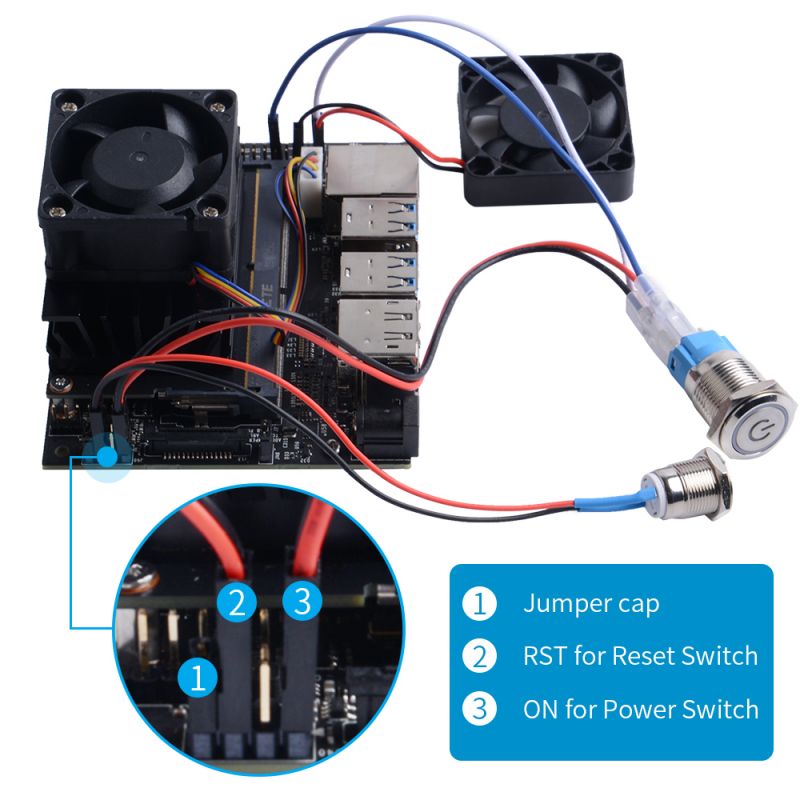
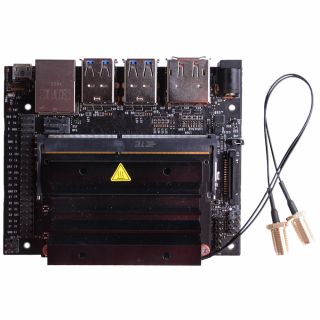
- 1.Fix the 4020 fan with long screws to Jetson Nano on the top of heat sink, and connect the cable to Jetson Nano’s FAN J15.Fixed the Reset button and power on/off button on the case, and then fix Jetson Nano to the case.
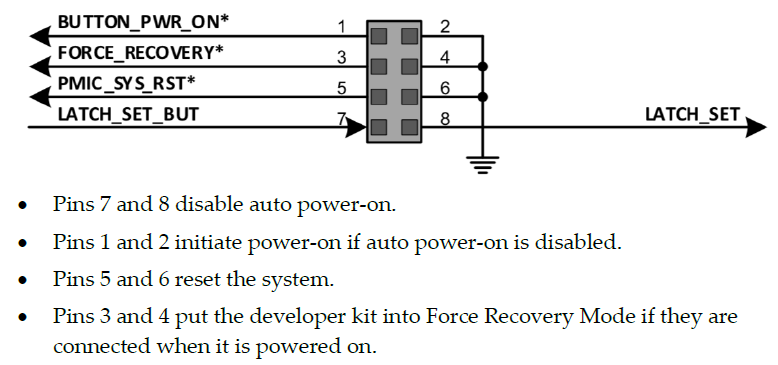
- 2.Add Jumper caps on J40 Pin7 and Pin8 to disable auto power-on and connect Reset button to Pin 5 and 6, connect power-on button to Pin 1 and 2 as following picture:
J40 Button Header
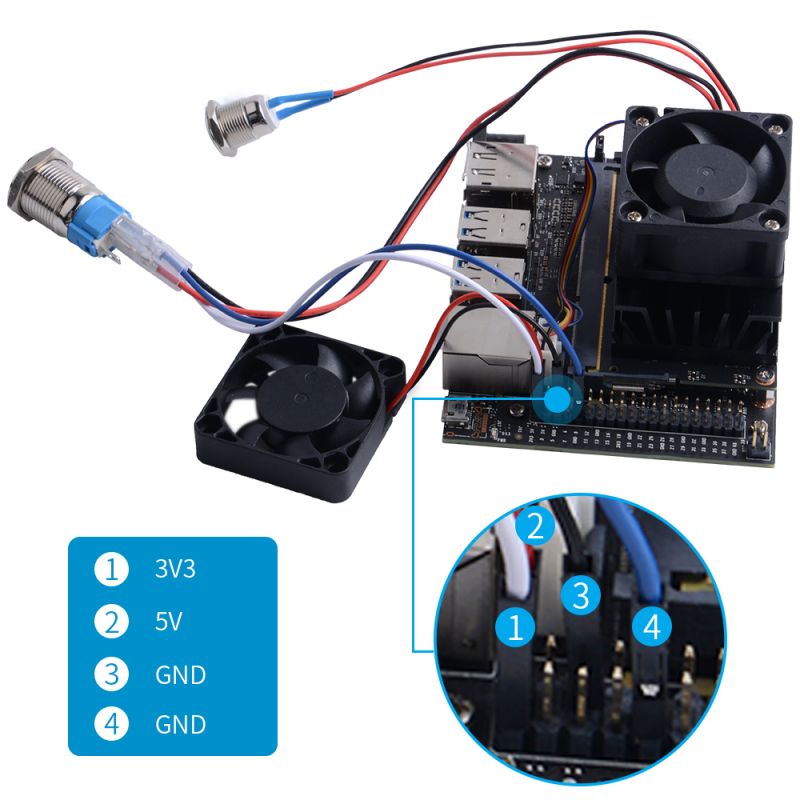
- 3.Connect the pre-installed fan to Jetson Nano’s GPIO, red wire connects to 5V, black wire connects to GND.
- 4.(Optional) Fixed the camera with M2.0*5 screws and put the acrylic washer between camera and the mounting brackets.
- 5.(Optional) Fixed the antenna to case and connect to the network interface card (NIC).
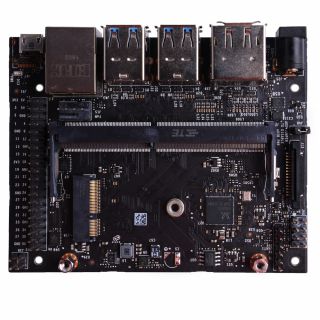
- Step 1. Remove the two screws on Jetson Nano, detach the Jetson Nano and remove the screw in the middle of the board.\
- Step 2. Connect the extension antenna cable to wireless interface card on IPEX connector, tighten the nut and washer to iron case to each SMA connector, and then put the wireless interface card into the M.2 socket, screw it tightly.
- Step 3. Insert the Jetson Nano into the socket and make sure the clamps lock it in and then screw it again.
- Step 4. Connect the antennas to the extension antenna cable.
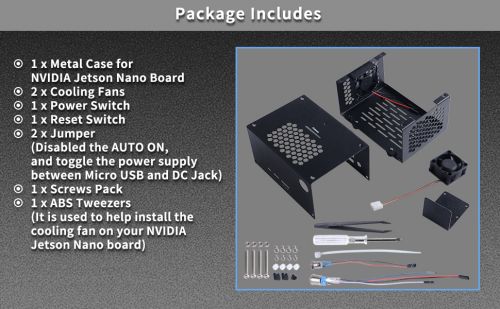
Package Include
Keywords
- jetson nano case, case for jetson nano, iron case, quiet fan, fan, heatsink, honycomb vent, jetson nano

