K-0180
(Redirected from Raspberry Pi Acrylic DIY Retro Game Arcade Kit SKU:K-0180)
Jump to navigation
Jump to search
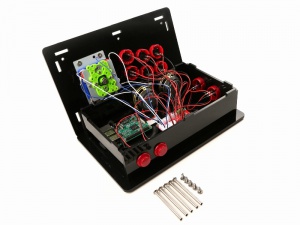
Raspberry Pi Acrylic Retro Game Arcade DIY Kit
Description
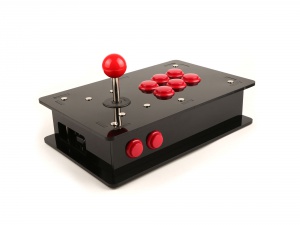
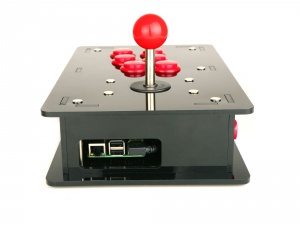
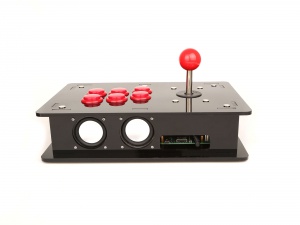
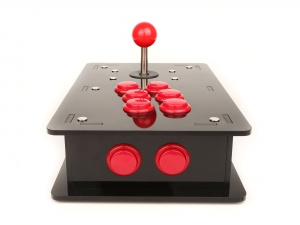
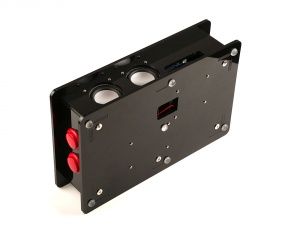
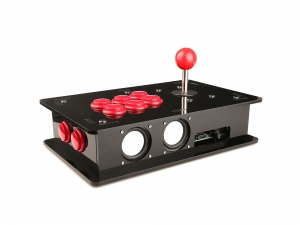
This is acrylic DIY Retro Game Arcade Kit which can running the RetroPie emulators and you can just download the Game's ROMs and upload to it and make it a arcade in your home.
Retro Game include: Mame,atari, nintendo, super nintendo, arcade, gameboy,color gba and so on.
All you need to do is download the Game Roms from internet and upload it to your Raspberry Pi, location on /home/pi/RetroPie/roms/ folder and reboot your Raspberry Pi.
Features
- Easy to setup
- High performance
- High integration
- Exquisite appearance
- Package Weight: 1.8Kg
Package Include
- 1 x Raspberry Pi 3 Module B with 1GB RAM/Bluetooth/Wi-Fi
- 1 x Class 10 /16GB fast speed TF card ( include card slot)
- 1 x High quality USB Joystick control board( Include High Quality audio module on board)
- 1 x High quality Joystick
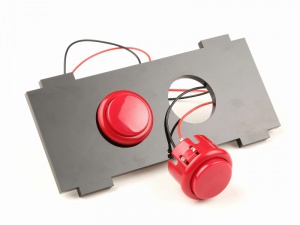
- 10 x Push Buttions( include 2 smaller one)
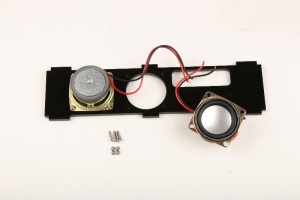
- 2 x High quality Loud speaker with wire
- 1 x 2M HDMI cable wire
- 1 x 3.5mm jack audio cable wire
- 1 x USB to microUSB cable wire
- 1 x Standard 5V/2.5A power supply
- 5 x long Binding screw & Nut
- 4 x short Binding screw & Nut
- 8 x M2.5x18mm steal screw & Nut
- 8 x M2.5x 12mm steal screw & Nut
- 4 x anti-slipper mat
- several button wire cables
- 1 x Instructions document
Galley
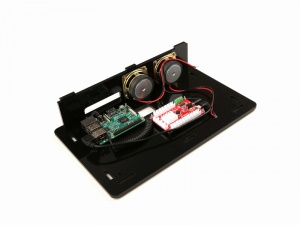
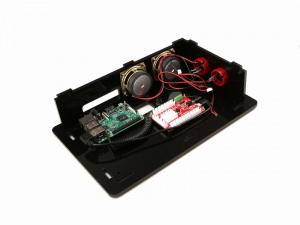
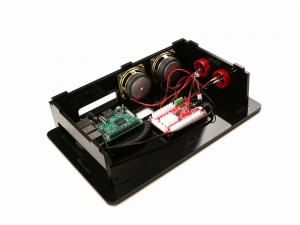
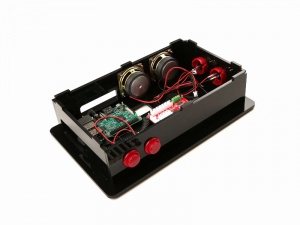
How to assemble it
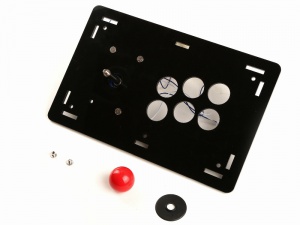
- 1. Remove the protect cover on the Acrylic enclosure, just remove the plastic.
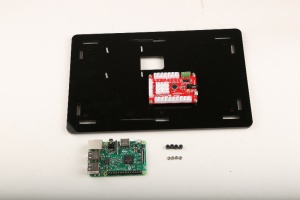
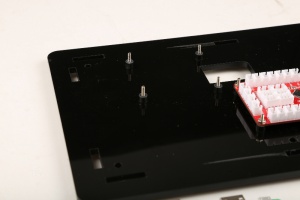
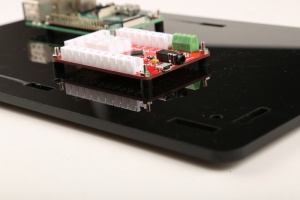
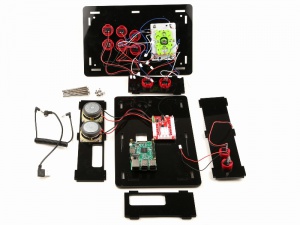
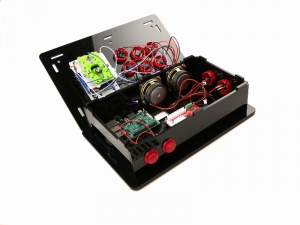
- 2. Mount the Raspberry Pi and GeeekPi USB Joystick board on the button of the enclosure with M2.5x 18mm screws and nuts.
- DO NOT FORGET THE WASHER.
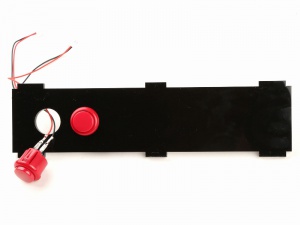
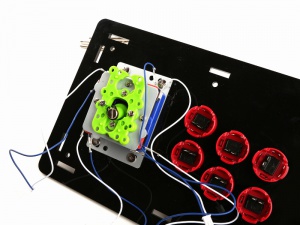
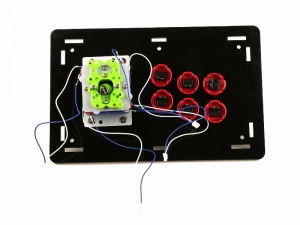
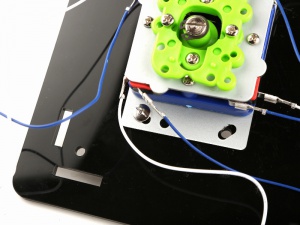
- 3. Place all of the push buttons on the enclosure slice, and screw up the joystick on the top board with short binding screws and nuts.
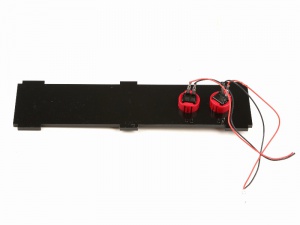
- 4. Mount the loudspeaker to the front panel of the enclosure. Pay attention to the position of the loudspeaker.
- 5. Connect 3.5mm jack cable wire from Raspberry Pi 3.5mm jack port to USB Joystick board's 3.5mm jack port.
- 6. Connect USB-to-MicroUSB cable wire from Raspberry Pi's USB port to USB Joystick board's microUSB port.
- 7. Hook up wire cable to the USB joystick board, Please make sure the joystick connect to the right position on the board.
- 7. Place four slices on the bottom of the and fixed everything with long Binding screws.
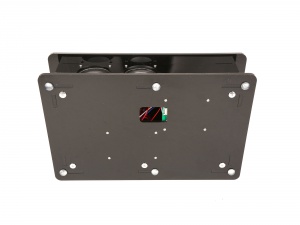
- 8. Put the anti-slipper pat on the back of the enclosure.
- 9. Hookup raspberry Pi and TV with HDMI cable.
- 10. Download Game's ROM file and upload to the RetroPie, and then Insert TF card to Raspberry Pi and power it on.
Video Tutorial
Please follow the link:
[How to assemble the Acrylic DIY Retro Game Kit | https://youtu.be/uGKoA47d-RY ]
