EP-0097
USB dongle for Raspberry Pi Zero/Zero W
Description
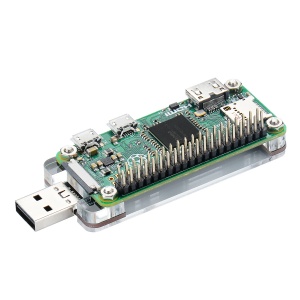
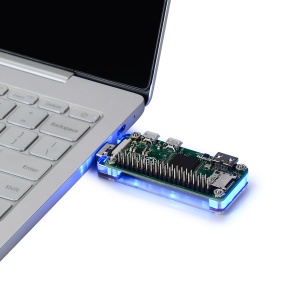
USB dongle for Raspberry Pi Zero/Zero W helps you to create an easy access, portable PC with Raspberry Pi Zero/Zero W.
Do not need soldering and wiring wire with the module to raspberry Pi.
It can make your Raspberry Pi Zero/Zero W as a PC stick, so that you can plug it to your computer and access Raspbian
OS from SSH service or VNC service which installed on Raspberry Pi' TF card
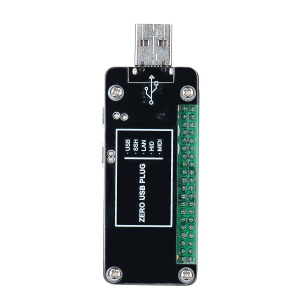
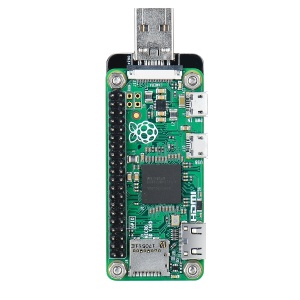
It uses the test points underneath your Pi Zero to attach a full-sized USB connector.
Convert your Pi Zero or Pi Zero W into a convenient USB dongle.
Just plug it into a free USB port and you can connect to your Pi over USB Ethernet and share your computer's internet connection without any additional cables or power supplies.
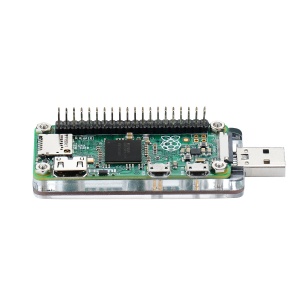
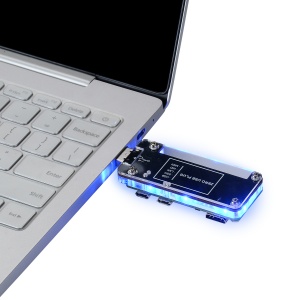
It can be mounted onto the bottom of your Pi Zero and secured with bolts, and with Acrylic shield protection,
It will be a portable USB dongle, making it convenient to use on the go.
When you plug it to your PC or laptop, You don't need to distinguish between front and back.
Due to the USB interface can be inserted on the front or the back, without distinguishing between the front and the back.
Use it to create your own little plug-and-play virtual machine, VNC server, proxy server or combine several into a cluster.
Features
- Easy to assemble
- Easy to configure
- Smaller and portable
- Acrylic shield protection
- No Soldering Required
- Convert Pi Zero/Zero W into USB dongle
- Using TestPoint underneath the Pi Zero
- The USB interface can be inserted on the front or the back, without distinguishing between the front and the back.
Gallery
Package includes
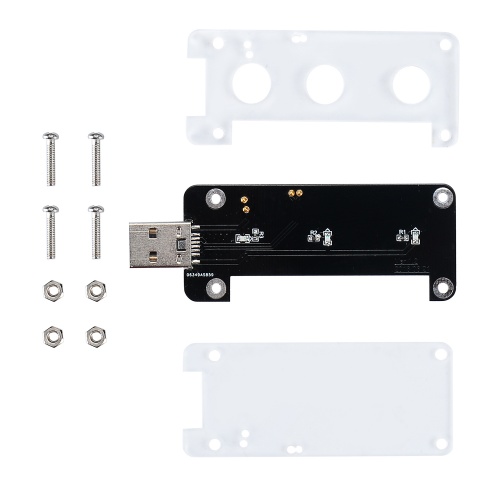
- 1 x USB dongle extension board
- 4 x M2.5 Long Screws
- 4 x M2.5 Nuts
- 2 x Acrylic Sheild
How to use
- Download the latest Raspbian image from [ https://www.raspberrypi.org/downloads/ ]
- Flash your SD card as usual using Etcher or Win32DiskImager
- Open up the "boot" partition and edit "config.txt", adding "dtoverlay=dwc2" to the bottom
For the latest Raspberry Pi OS
- Current version: 2024-07-04 64bit bookworm
sudo vim.tiny /boot/firmware/config.txt
and then press `i` to insert mode and adding following line:
dtoverlay=dwc2
press "ESC" on your keyboard and then input `:wq` to save it and quit.
- Open up "cmdline.txt" and add "modules-load=dwc2,g_ether" after "rootwait"
sudo vim.tiny /boot/firmware/cmdline.txt
adding following part before rootwait.
- Create a new file named "ssh" in the boot folder
- Insert this TF card to Raspberry Pi Zero/Zero W/Zero 2W
- Pop your newly set up SD card into your Pi Zero
- plug it into a USB port and you should be able to SSH in to "raspberrypi.local",
Open powershell on windows:
and ssh to your Pi.
ssh pi@raspberrypi.local
NOTE: replace pi with your own username.
- Update repository index file and upgrade packages.
- you will need Bonjour, iTunes or Quicktime installed in Windows or Avahi Daemon in Linux for this to work.
FAQ
- Q: I bought your "USBc dongle for Raspberry Pi Zero/Zero W" and, in the "instruction sheet", it indicates that a line is added to the file "cmdline.txt" after "rootwait" and that it creates a file named "ssh" in the "boot" folder.
 A: 1. Please download the latest image from: https://downloads.raspberrypi.org/raspbian_full_latest and then, unzip it and flash it to your TF card, and then you will find a partition on your PC(windows) called boot,open it you will see the cmdline.txt file
    2. modify it via VS code or ultraEditor  and save it.
    3. put back the TF card to your RPI zero and then connect it to your USB port .
- Q: I've flashed my sdcard multiple times with rasbian and even dietpi and followed your wiki instructions to the letter - NO GO, can't see the device nor connect to it via SSH.
A: You should make sure the config.txt has been modified correctly, and make sure your Raspberry Pi's OS is Raspbian.
