EP-0031
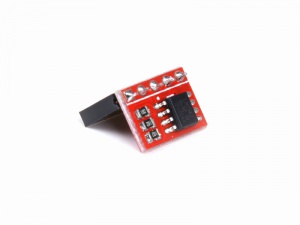
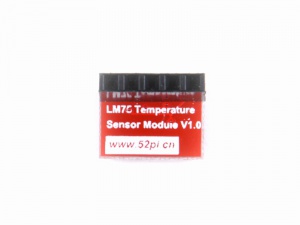
Raspberry Pi LM75B Temperature Sensor v1.0 SKU:EP-0031
Product Feature
- 9bit high resolution ADC in chip
- Temperature resolution of 0.125°C.
- I2C bus plug and play
- Compatible with all kind of development board.
Compatibility List
- Compatibility
| Platform | LM75B temperature Sensor Version 1.0 | Notes |
|---|---|---|
| Raspberry Pi 3 Model B Plus | WIP | WIP: work in process |
| Raspberry Pi zero | √ | |
| Raspberry Pi zero W | √ | |
| Raspberry Pi 3 Model B | √ | |
| Raspberry Pi 2 Model B | √ | |
| Raspberry Pi Model B+ | √ |
Port
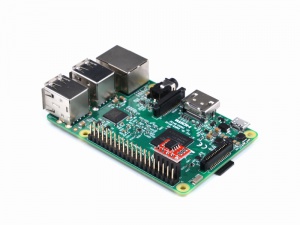
- Raspberry Pi GPIO pins
Product Parameters
- Working voltage: 1.8V-5.5V, accuracy can be up to 0.5 when working voltage is higher than 3v.
- Temperatures range from−55°C to +125°C
- Supply current of 3.5µA in shutdown mode for power conservation
- Temperature accuracy of: ±2°C from−25°C to +100°C
- Temperature accuracy of: ±3°C from−55°C to +125°C
Package Include:
- 1 x Raspberry Pi LM75B Temperature Sensor v1.0
Typical Application
- Industrial controllers
- Environmental monitoring
- Smart home
- Interactive devices
How to wire it up
How to use it
- i2c-tools package is required, so you should install it before you get temperature as following command:
sudo apt-get update && sudo apt-get -y install i2c-tools
- Enable I2c function by editing /boot/config.txt,make sure it contain this two parameter as following:
device_tree=bcm2710-rpi-3-b.dtb
dtparam=i2c_arm=on
- Or you can use this command to enable I2C:
- Or you can use this command to enable I2C:
sudo raspi-config
- Select as this picture, then you can enable I2C easily.
- Please Remember to reboot your Raspberry Pi.
- After rebooting, please open a terminal and input this command to get temperature:
i2cget -y 1 0x48 0x00 w |awk '{printf("%0.1f C\n",(a=((("0x"substr($1,5,2)substr($1,3,1))*0.0625)+0.1) )>128?a-256:a)}'
Result:
Examples
- Shell scripts:
You can create a file called lm75.sh and edit as following:
#!/bin/bash

while true

do

i2cget -y 1 0x48 0x00 w | awk '{printf("%.1f C.\n", (a=((("0x"substr($1,5,2)substr($1,3,1))*0.0625)+0.1) )>128?a-256:a)}'

sleep 1

done
and set an execute right to this file:
chmod +x lm75.sh && bash lm75.sh
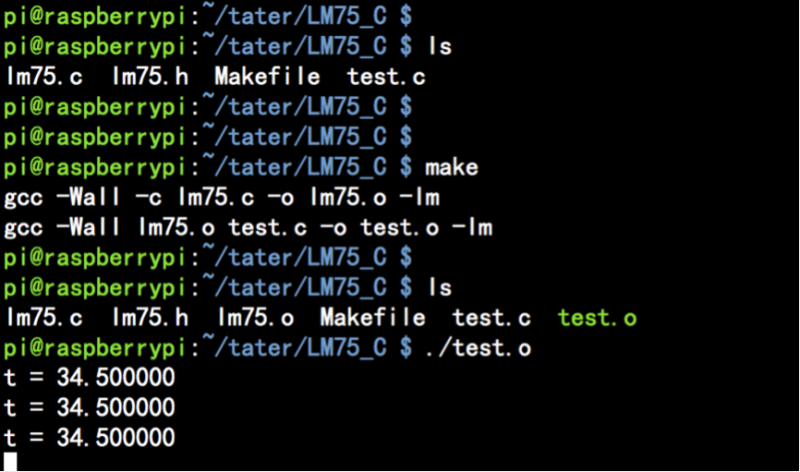
- C code: You can login to your Raspberry Pi and open a terminal, and then download the zip package from this link below:
File:LM75 C.tar.gz.zip
unzip it and compile it.
unzip LM75_C.tar.gz.zip

tar -xf LM75_C.tar.gz

cd LM75_C/

make

./test.o
- Python running in command line:
- If you want to use python to drive this sensor, you have to install this two packages first.
sudo apt-get update
sudo apt-get install -y python-smbus python-scipy
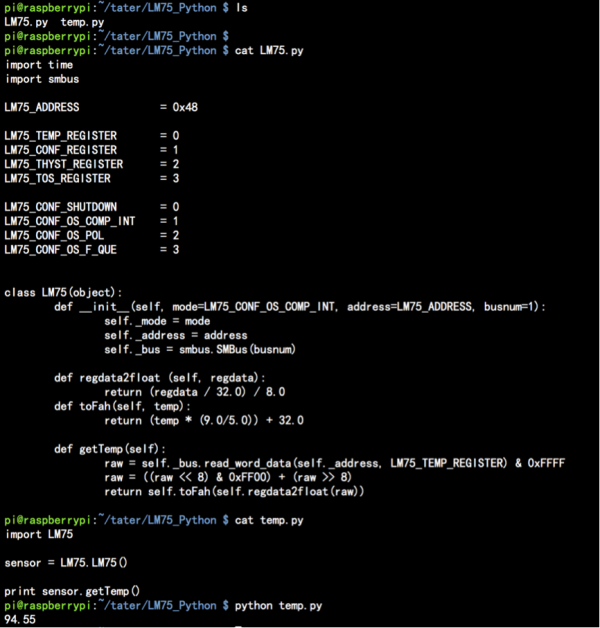
- Create a file called LM75.py as below:
import time
import smbus

LM75_ADDRESS		 = 0x48

LM75_TEMP_REGISTER 	 = 0
LM75_CONF_REGISTER 	 = 1
LM75_THYST_REGISTER 	 = 2
LM75_TOS_REGISTER 	 = 3

LM75_CONF_SHUTDOWN  	 = 0
LM75_CONF_OS_COMP_INT 	 = 1
LM75_CONF_OS_POL 	 = 2
LM75_CONF_OS_F_QUE 	 = 3


class LM75(object):
	def __init__(self, mode=LM75_CONF_OS_COMP_INT, address=LM75_ADDRESS, busnum=1):
		self._mode = mode
		self._address = address
		self._bus = smbus.SMBus(busnum)

	def regdata2float (self, regdata):
		return (regdata / 32.0) / 8.0
	def toFah(self, temp):
		return (temp * (9.0/5.0)) + 32.0

	def getTemp(self):
		raw = self._bus.read_word_data(self._address, LM75_TEMP_REGISTER) & 0xFFFF
		raw = ((raw << 8) & 0xFF00) + (raw >> 8)
		return self.toFah(self.regdata2float(raw))
and then create another file called test.py:
import LM75

sensor = LM75.LM75()

print sensor.getTemp()
- execute by this command:
- execute by this command:
python test.py
FAQ
- Question: I've tried to measure temperature with LM75B sensor that bought from your store, but why did i get the data that can not approach to the 0.125 resolution ?
- Answer: Because the accuracy resolution is lower than ADC resolution,so you can not get the exactly temperature.
- Question: why the temperature that i measured is far away from my friend's data?
- Answer: Because different environment can cause the resolution change, for example, your system is too busy or there is a heat source nearby may cause the resolution have some offsets.
Reference
http://www.ti.com/product/LM75B
